
How to Automatically Scrape Website Data and Save to Notion (No Code)
Contents
Any data you scrape online needs to be stored effectively. Batches of new information should have a place to go where they remain safe, accessible, and formatted correctly.
A well-planned data storage step helps you build better nocode workflows by increasing speed and accuracy. Using a workflow automation program like Zapier allows you to set up a process that doesn’t require manually passing data from one program to the next.
In this tutorial, you’ll learn how to use Browserbear to scrape structured data and how to automatically send it to Notion so you can easily access and use it for other processes.
What is Browserbear?
Browserbear is a cloud-based tool for automating web browsing tasks that you can use to save structured data, capture screenshots, and perform other browser actions.

Using Browserbear, you can easily automate tasks based on specific conditions with a workflow triggered using the REST API or no-code tools such as Zapier and Make. By integrating this task with other tools, you can save, manipulate, and optimize your data. This frees you from manual, repetitive work and allows you to focus on more important tasks.
What is Notion?
Notion is a flexible knowledge base that allows users to create what they need from LEGO-style building blocks. It’s cloud-based and syncs across devices, making it an extremely accessible data storage solution.
With over 200 native integrations and an enterprise API, Notion allows you to build all sorts of custom processes. The ability to place wikis, product galleries, and even timelines side-by-side contextualizes your workflow and makes it a particularly suitable for some scraping use cases.
What You Will Create
The scraped structured data needs to be put into a database before you can use it in other workflows. But it’s not always efficient to manually upload a CSV file whenever you have a new set of data to work with. We will be setting up an automation that scrapes the Browserbear blog page then sends the data to Notion, creating a new item in a database for every separate item.
The tools you will be using are:
- Browserbear : To create a browser automation that scrapes blog card information
- Notion : To store blog card information
- Zapier : To trigger actions in different programs based on pre-specified commands
By the end of the tutorial, you should be able to automatically send scraped data from Browserbear to a Notion database:
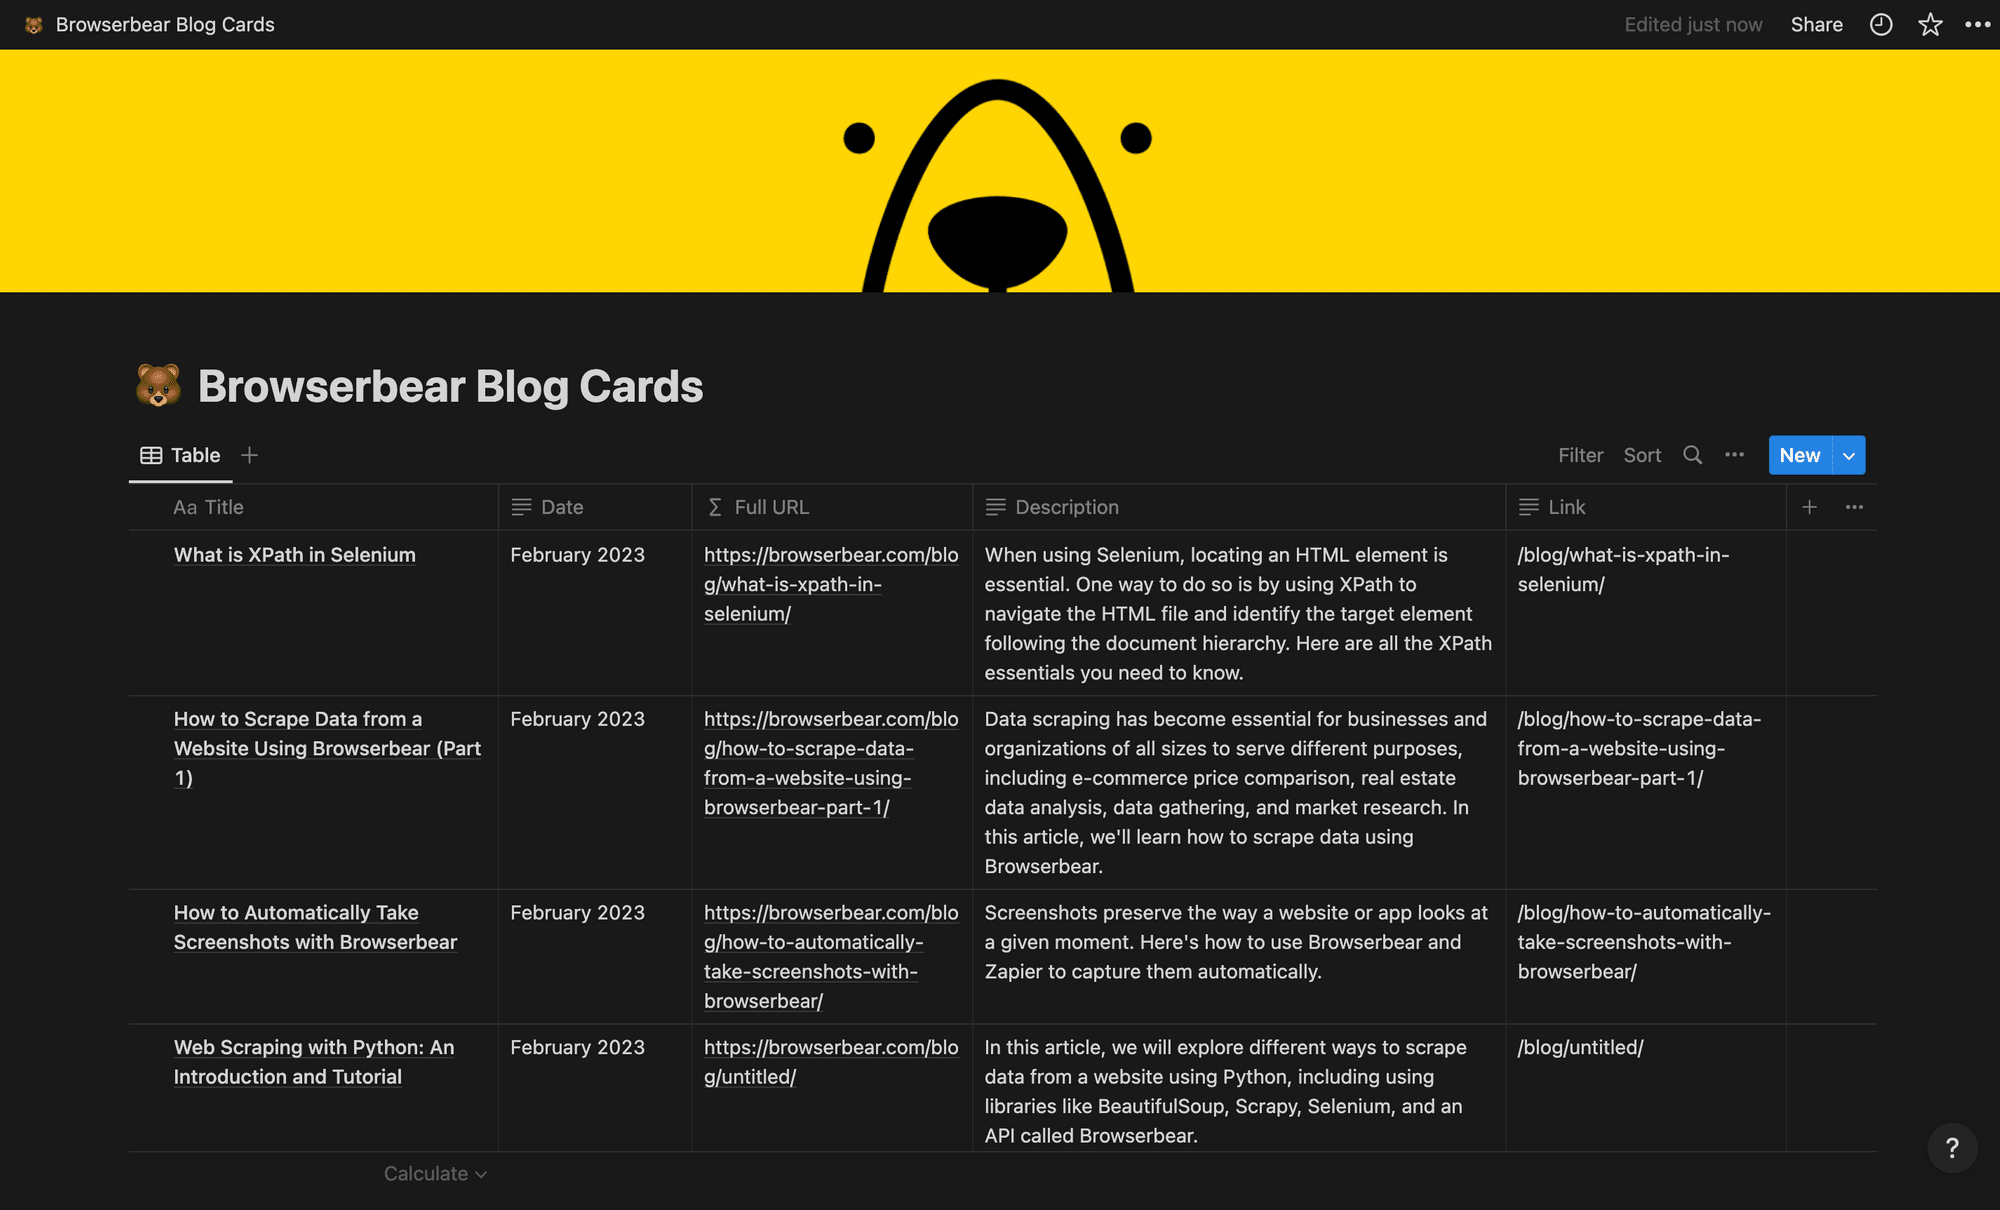
All you need is a Browserbear task, Notion database, and Zapier workflow.
How to Send Scraped Structured Data to Notion
Notion’s iconic drag-and-drop interface makes it a great option for many use cases. You can integrate it with many other programs to create a data scraping workflow that doesn’t require much manual input (if any).
While Notion has many native integrations and automation tools enable many more, keep in mind that you can only create one new database item per request using a Zapier action. This makes it a great option for use cases that have a fixed number of data items per scrape or run on a schedule, but it might not be optimal for depositing bulk payloads.
Here’s how to set up a workflow that sends scraped structured data to Notion:
Create a Browserbear Task
Log into your Browserbear account (or create a free trial account if you don’t have one—no credit card required! 🎉).
From the Tasks tab, click Create a Task. Add a name to the task, then click Save.
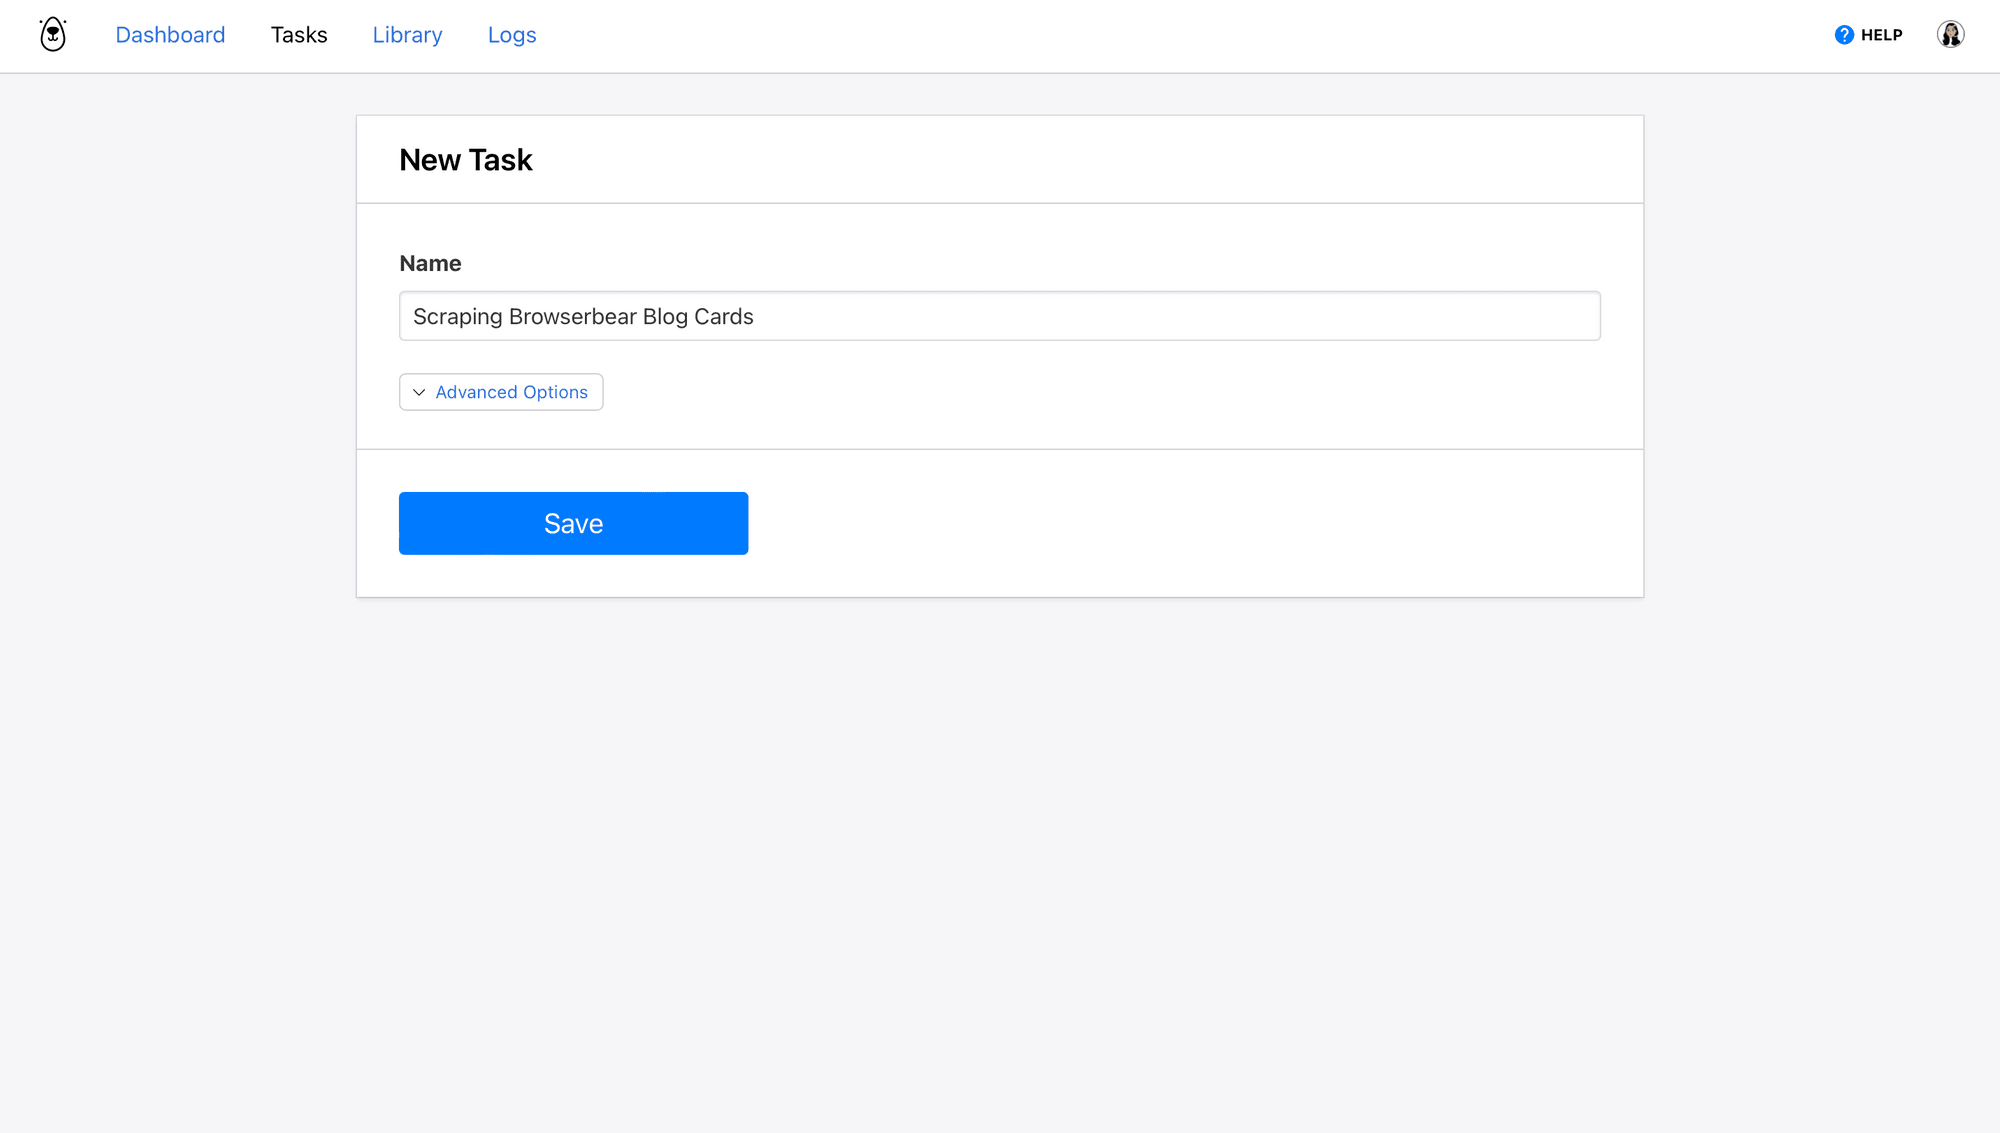
The task page you’re now on is where you can add steps, run your automation, and view completed runs.
Click Add Step and set up the following actions:
Step 1: Go
Browserbear needs to know the address of the site you want data scraped from.
Choose go as the Action and insert a destination URL. Choose wait instructions— network idle waits until no new network requests are made for 500 ms and is usually the safest option. You can also use load or domcontentloaded in certain situations.
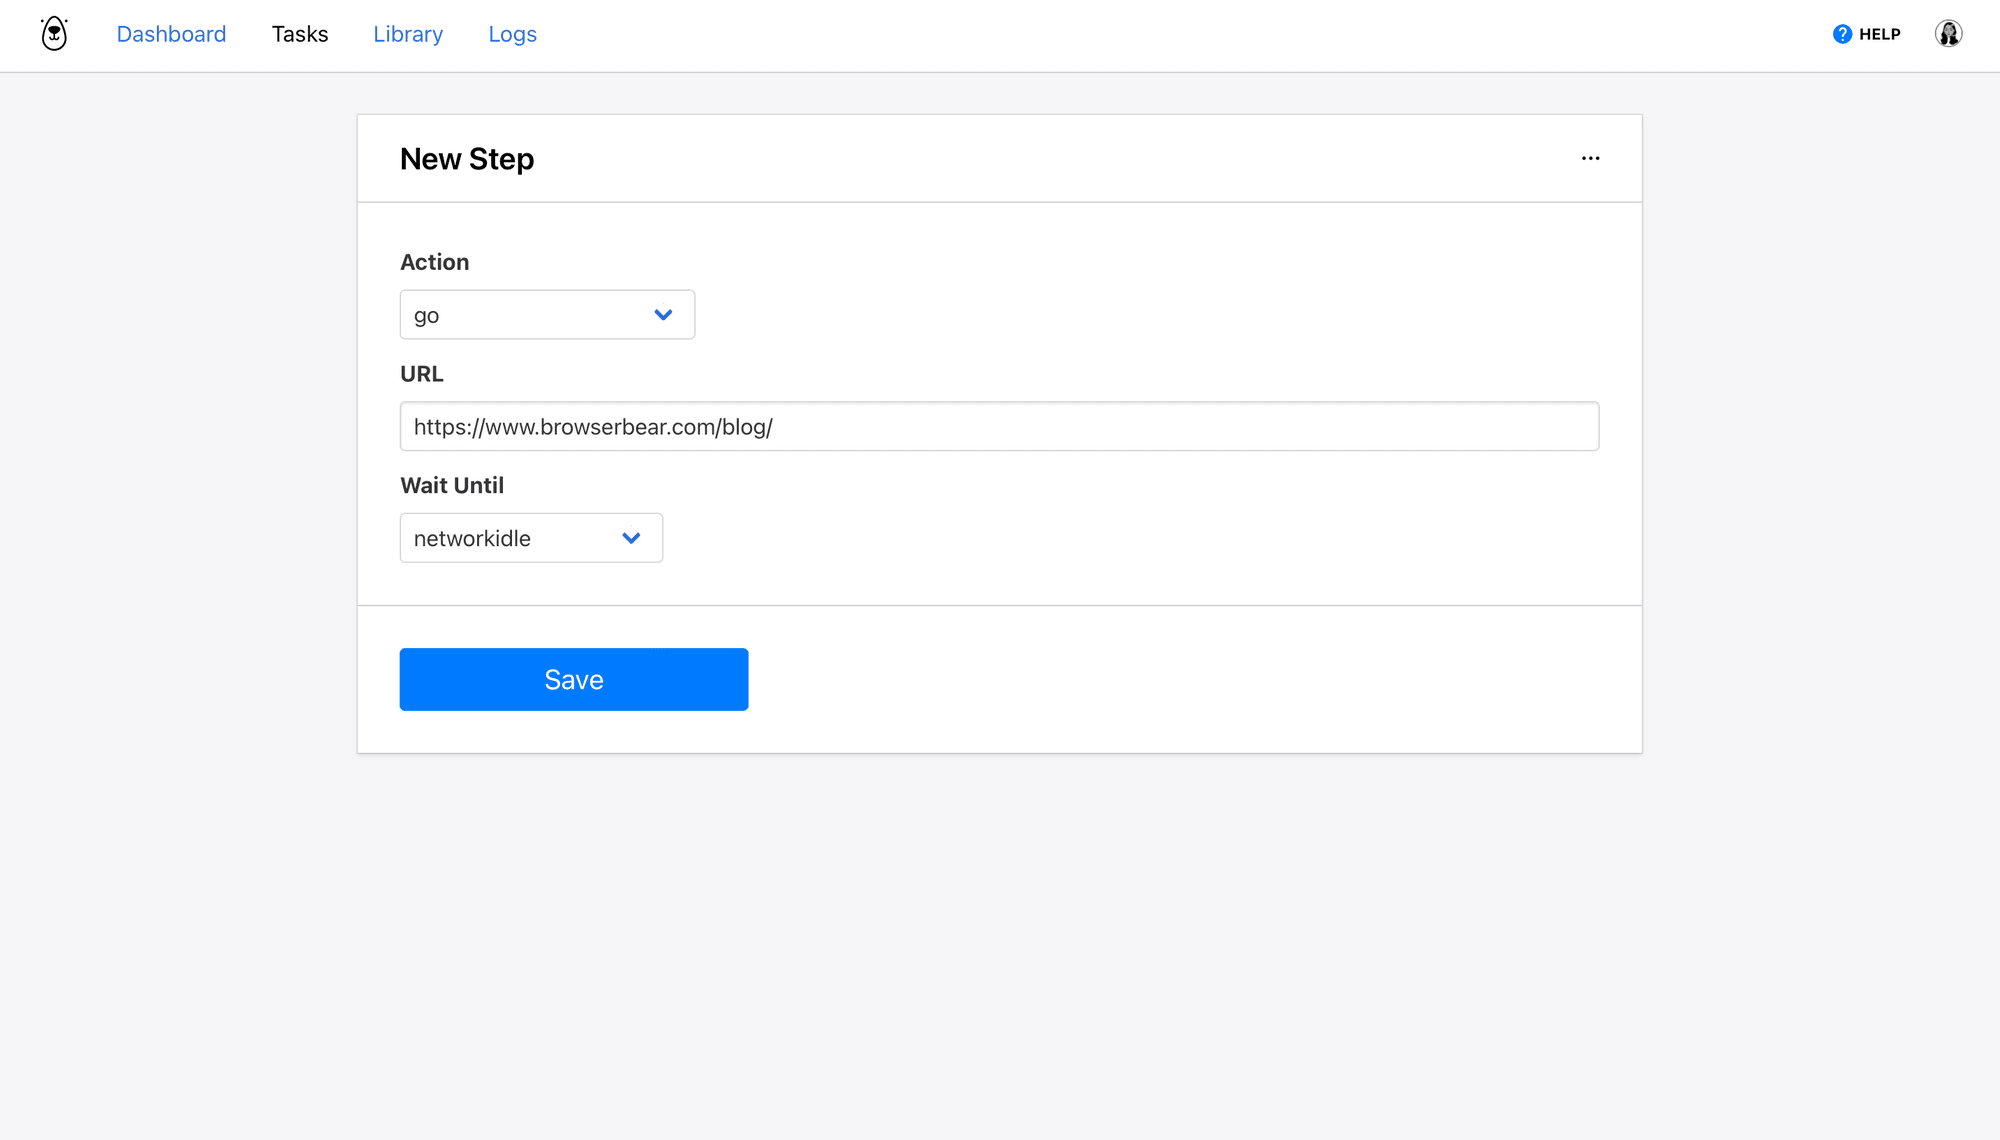
Click Save.
Step 2: Save Structured Data
Now you’ve established which web address you’re scraping data from, so let’s add a step that identifies the actual items you need. We’ll use an action to define a container and the elements you want to scrape within it.
Bear Tip 🐻: You’ll only need to set up the scraping process for one container—it will then apply to all others on the page that contain the same elements.
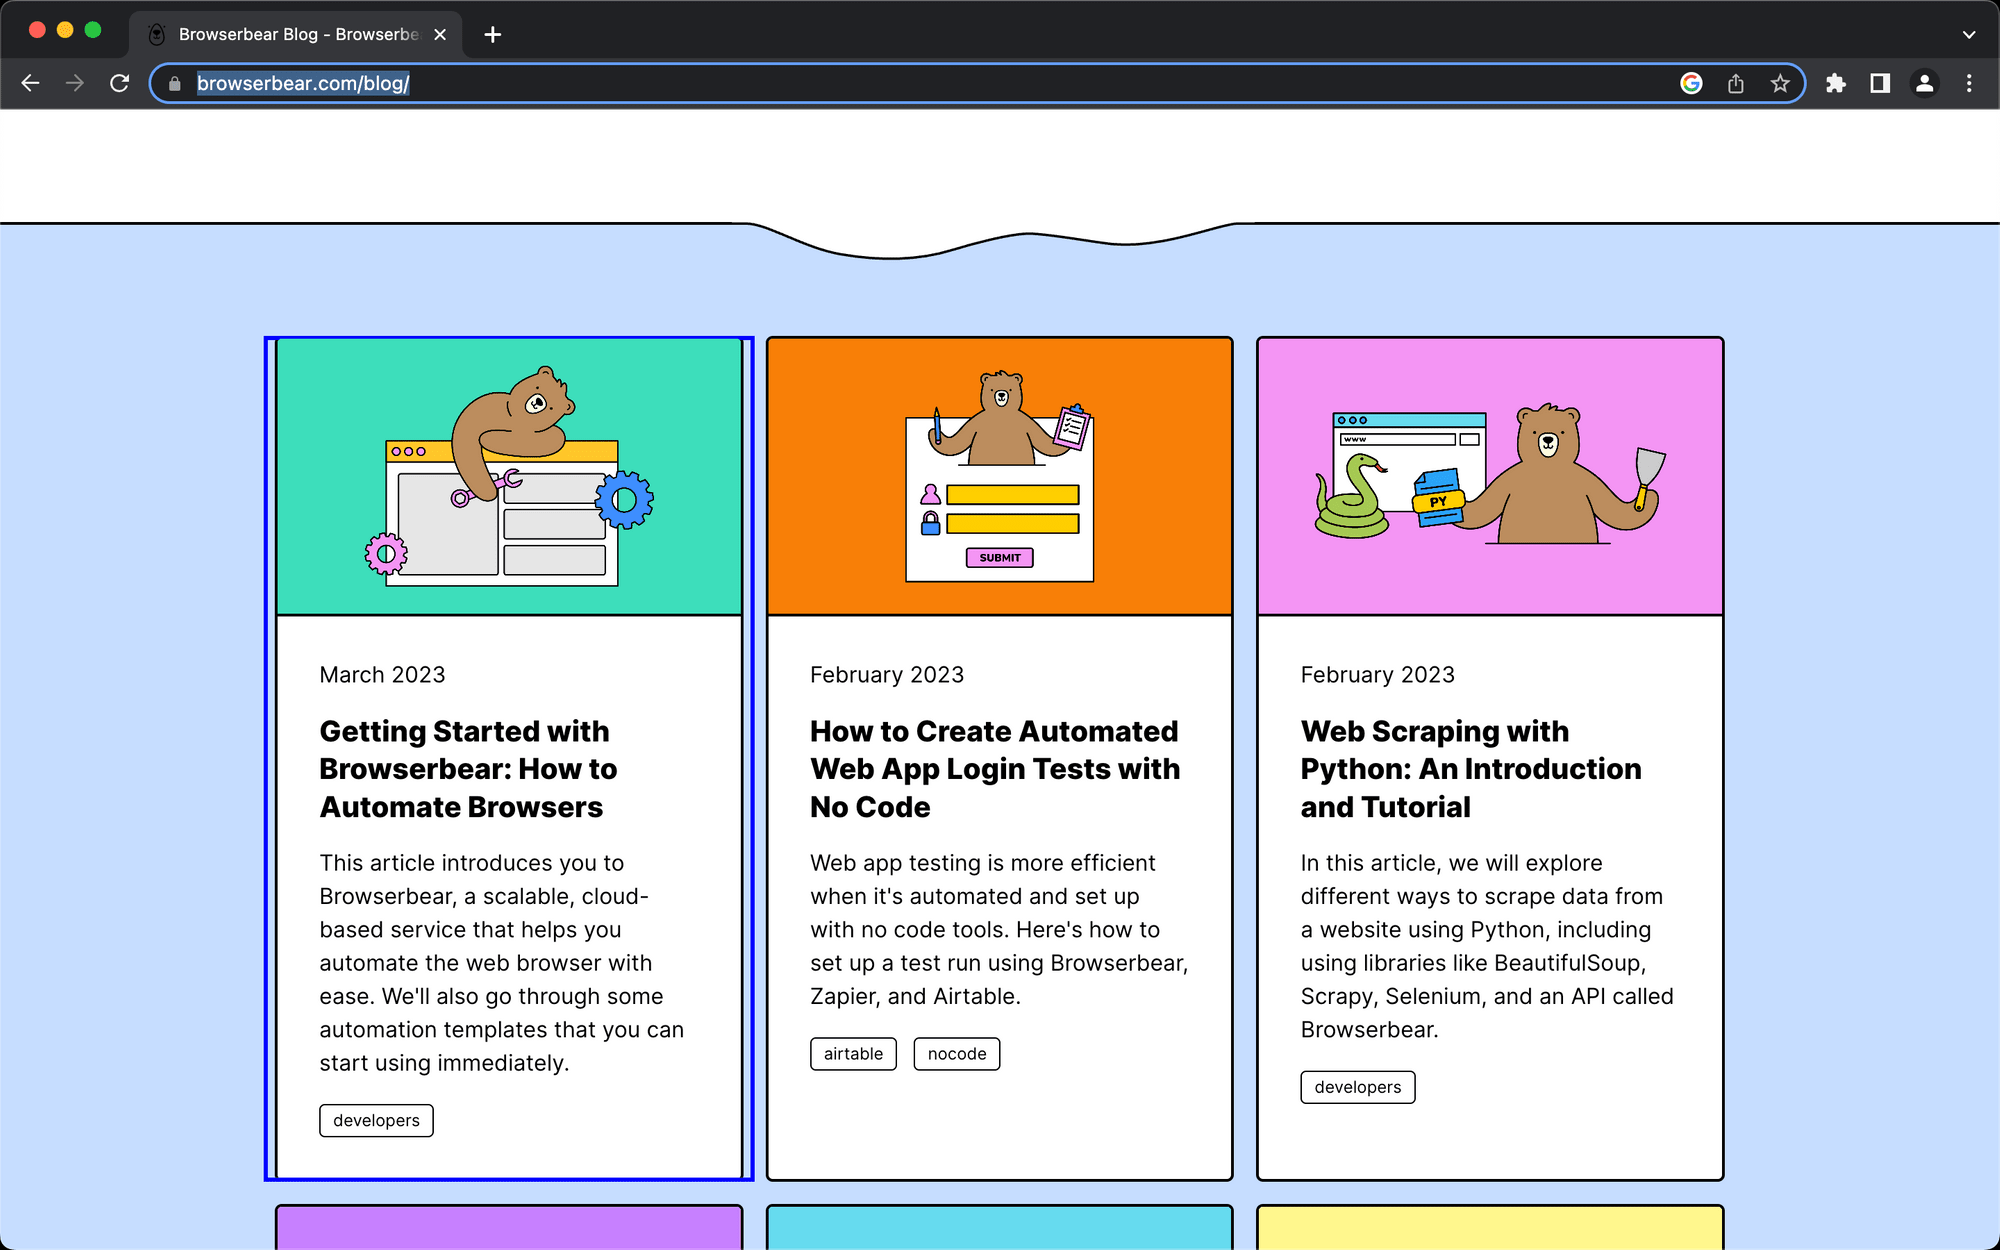
The Browserbear blog page has six blog cards. Let’s set up a scraping action for the first one.
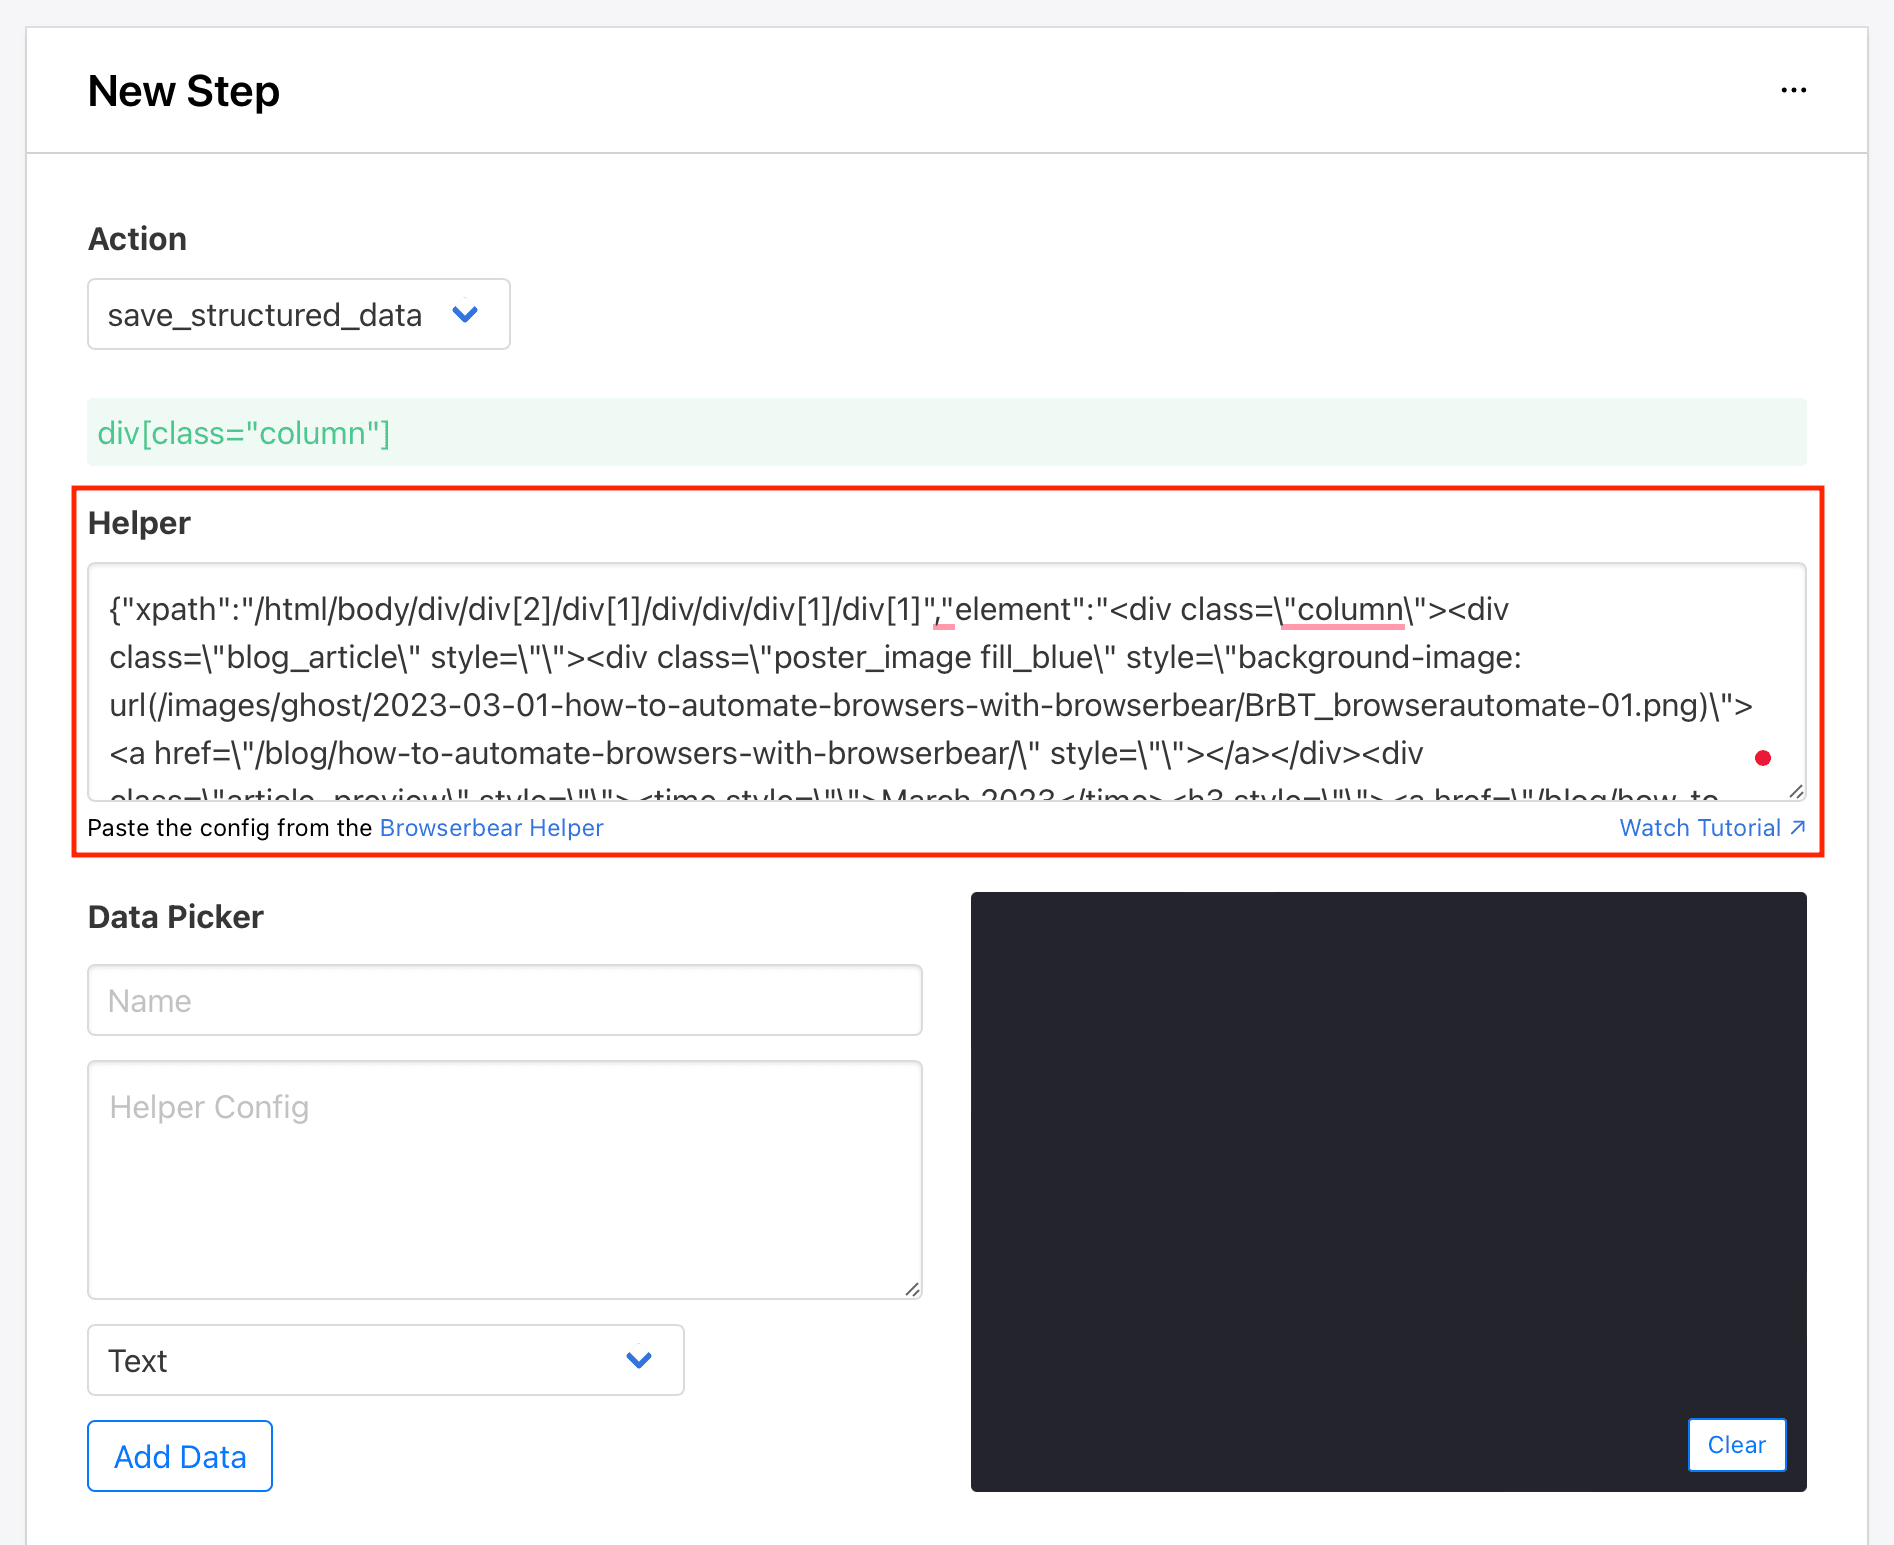
Choose save_structured_data as the Action.
You will need to use the Browserbear Helper Chrome extension for the helper configs. Activate the extension on the fully loaded destination website.
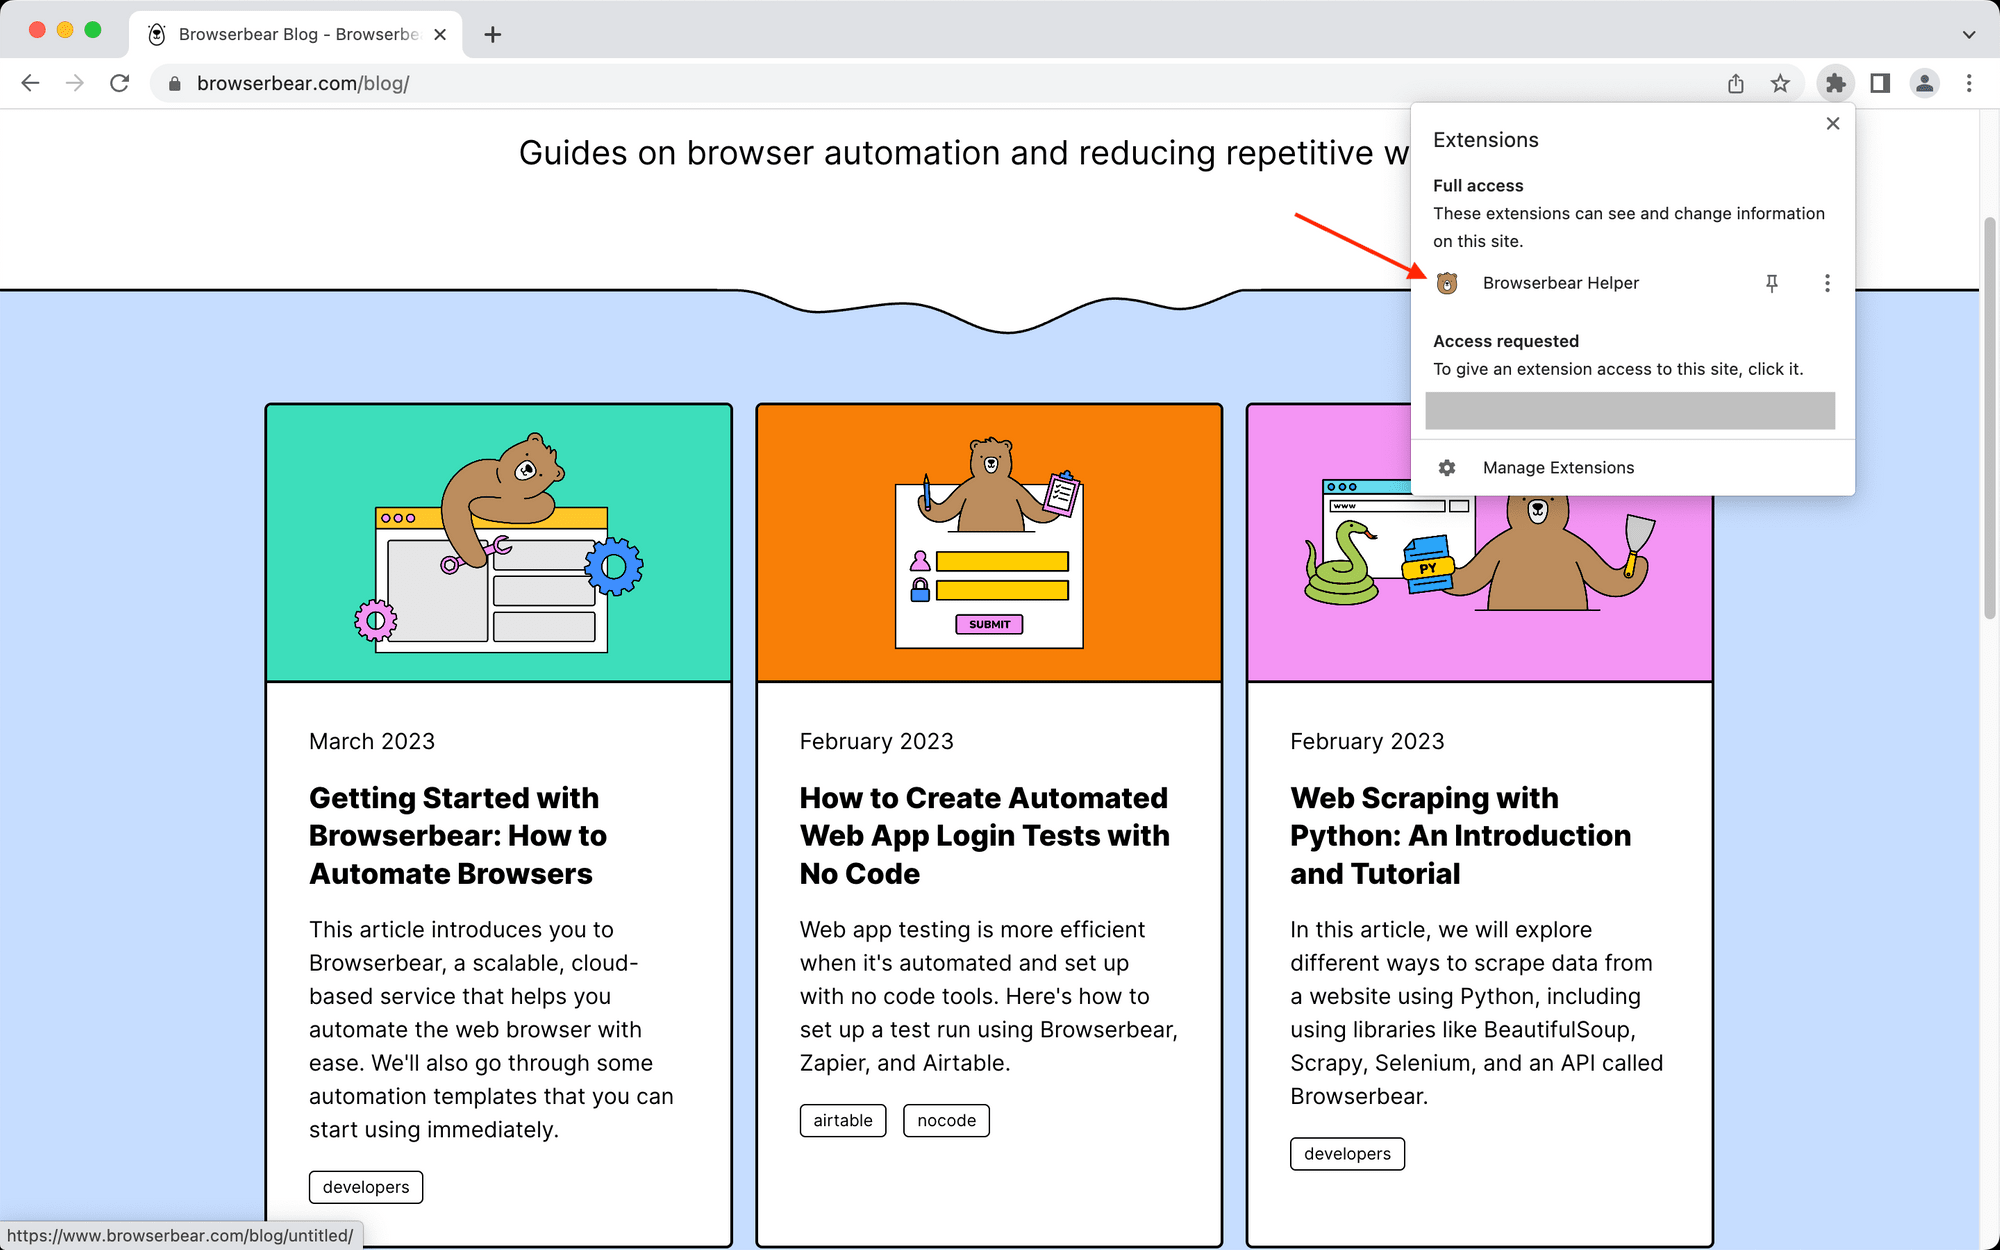
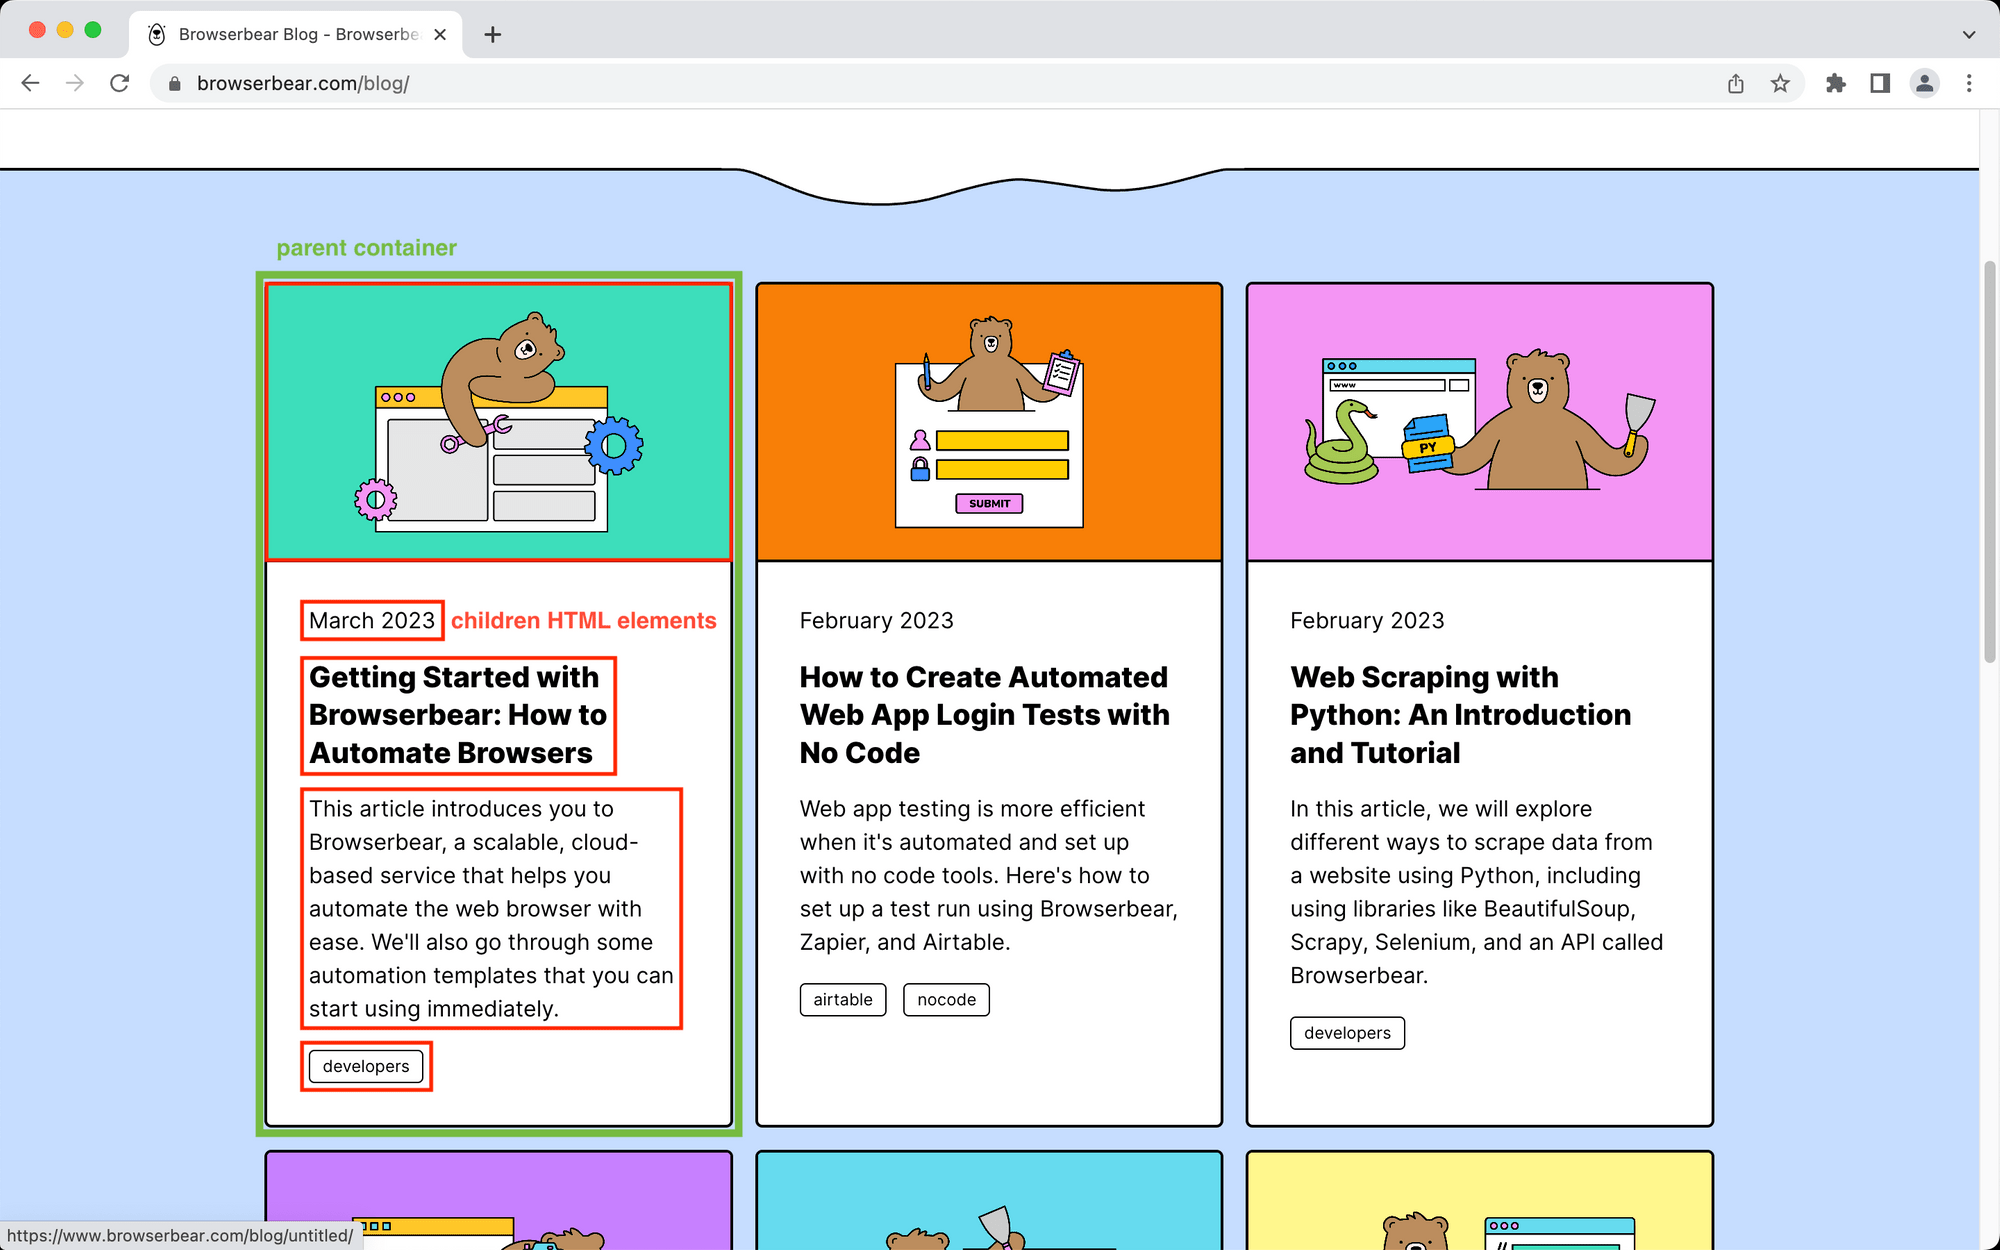
Locate the parent container you’re defining and hover over it. You should see a blue outline.
Click the selection, then copy the config that appears in the popup window.
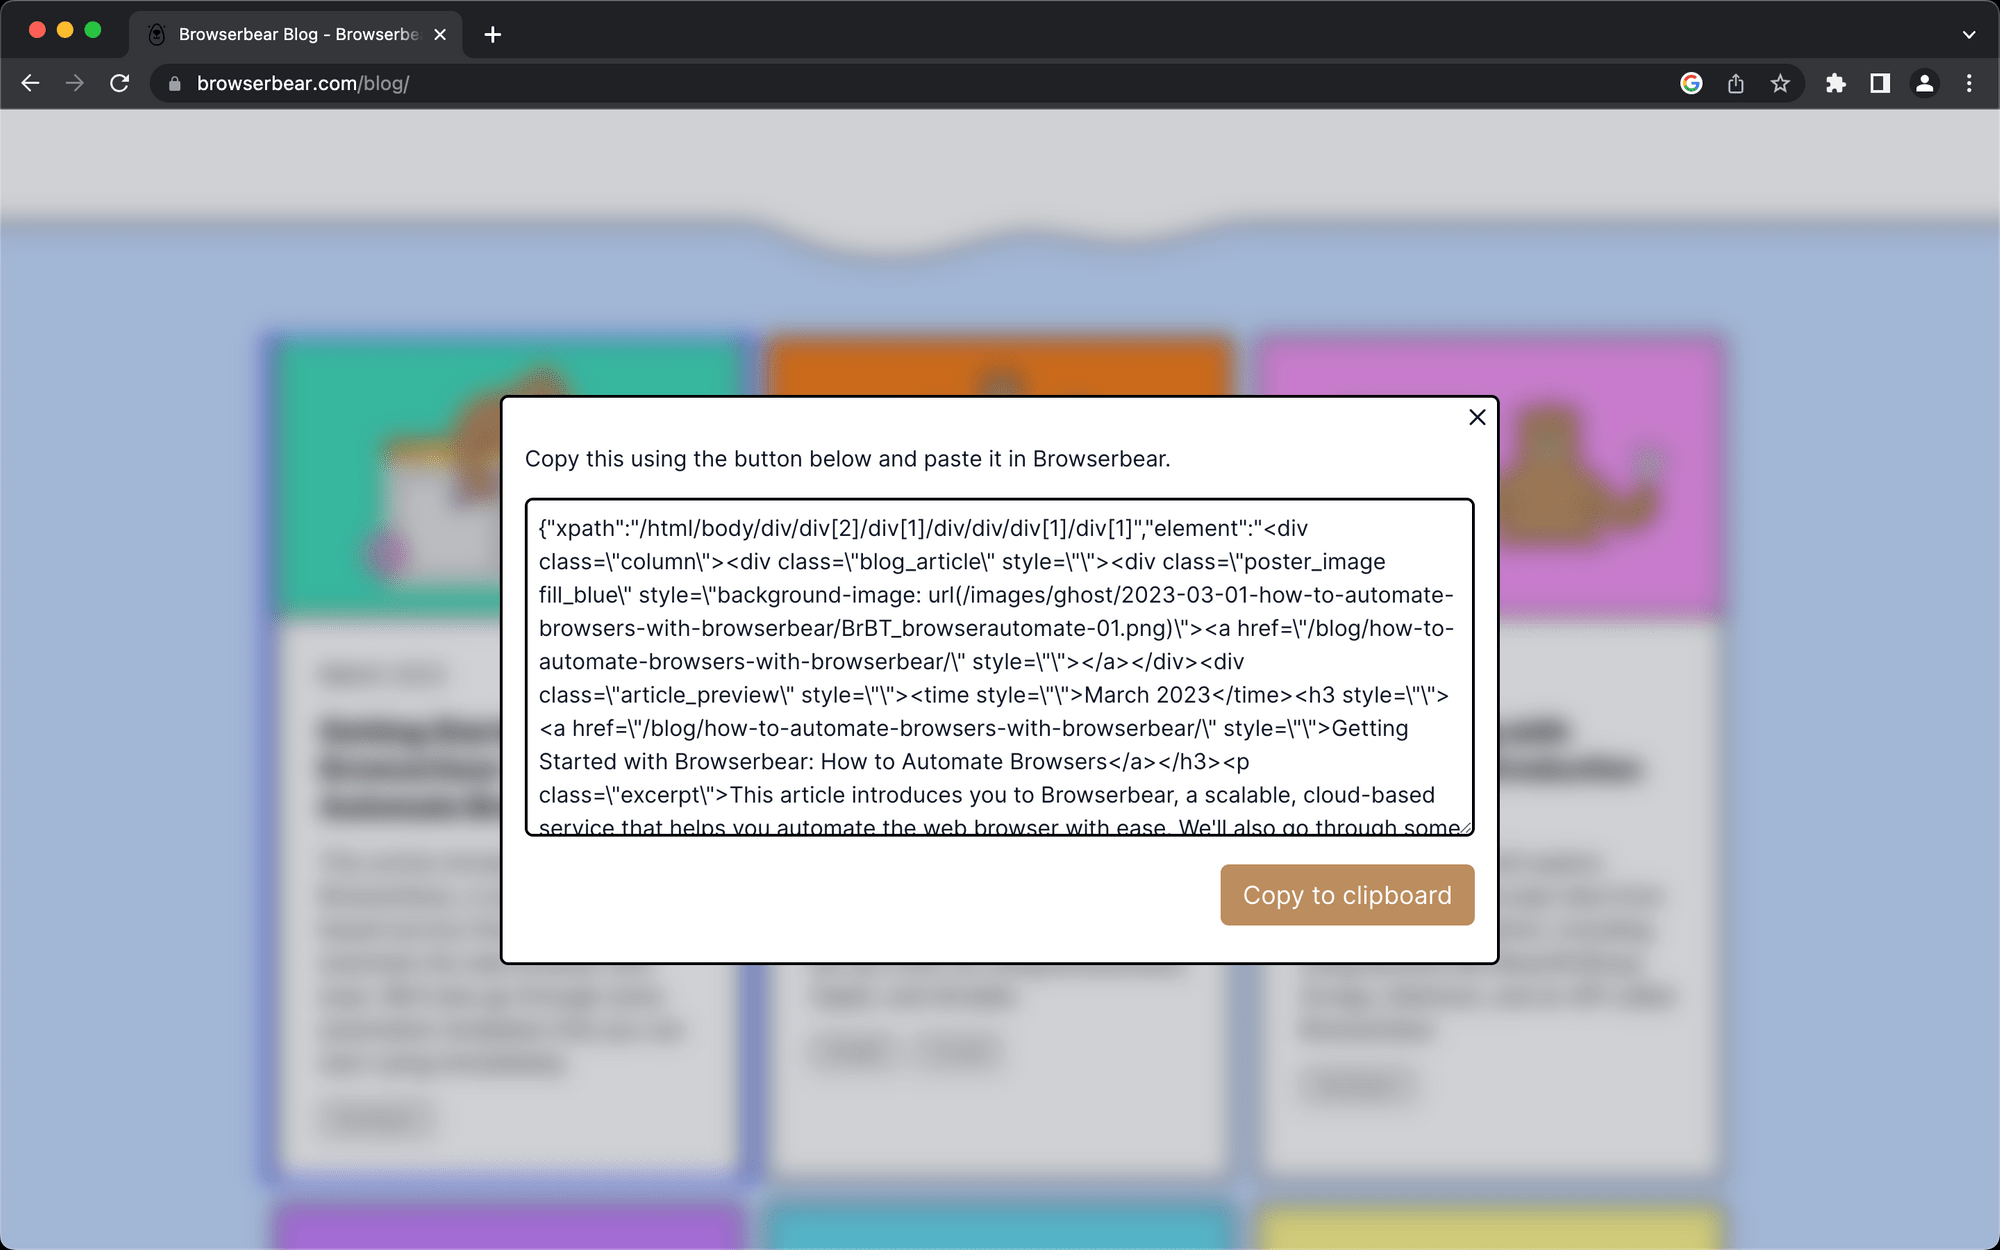
Return to your Browserbear task setup and insert the code into the Helper section.
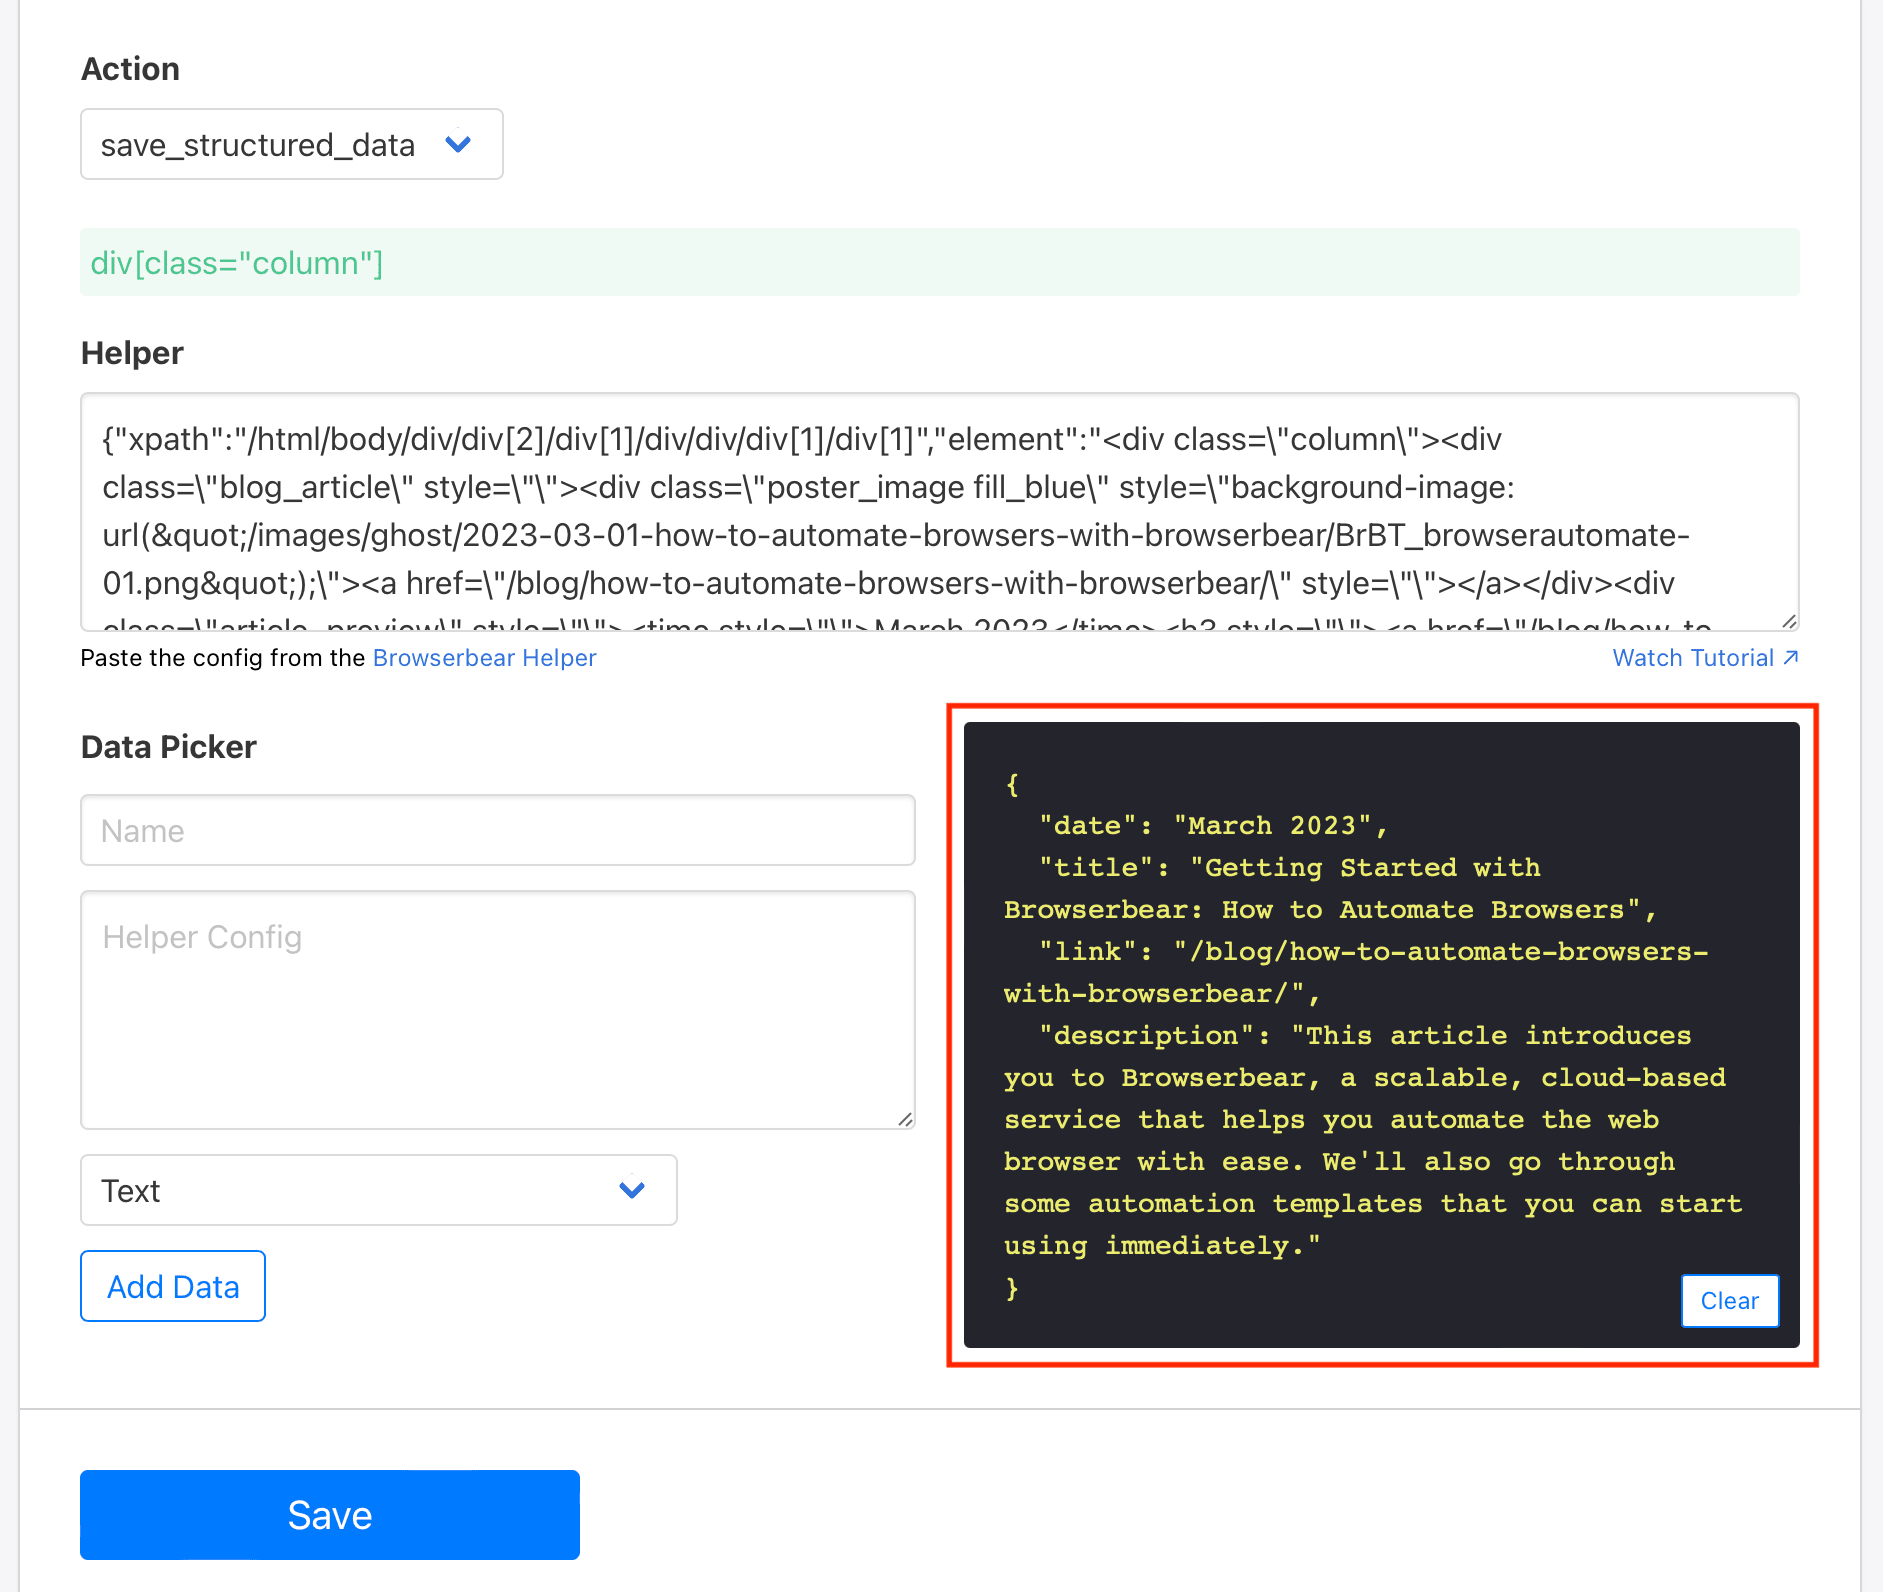
Now, let’s define the individual HTML elements you want scraped. Return to the destination site with the Browserbear Helper extension activated, hover over the element you want to select, and click when you see a blue outline around it.
Copy the resulting config into the Helper Config section of the Data Picker. Add a name and specify the type of data you want to pull. The default is text, but you can also save links, images, URLs, and much more.

Click Add Data when you’re done.
Repeat this step for as many HTML elements as needed.
Click Save once all elements have successfully loaded onto the log.
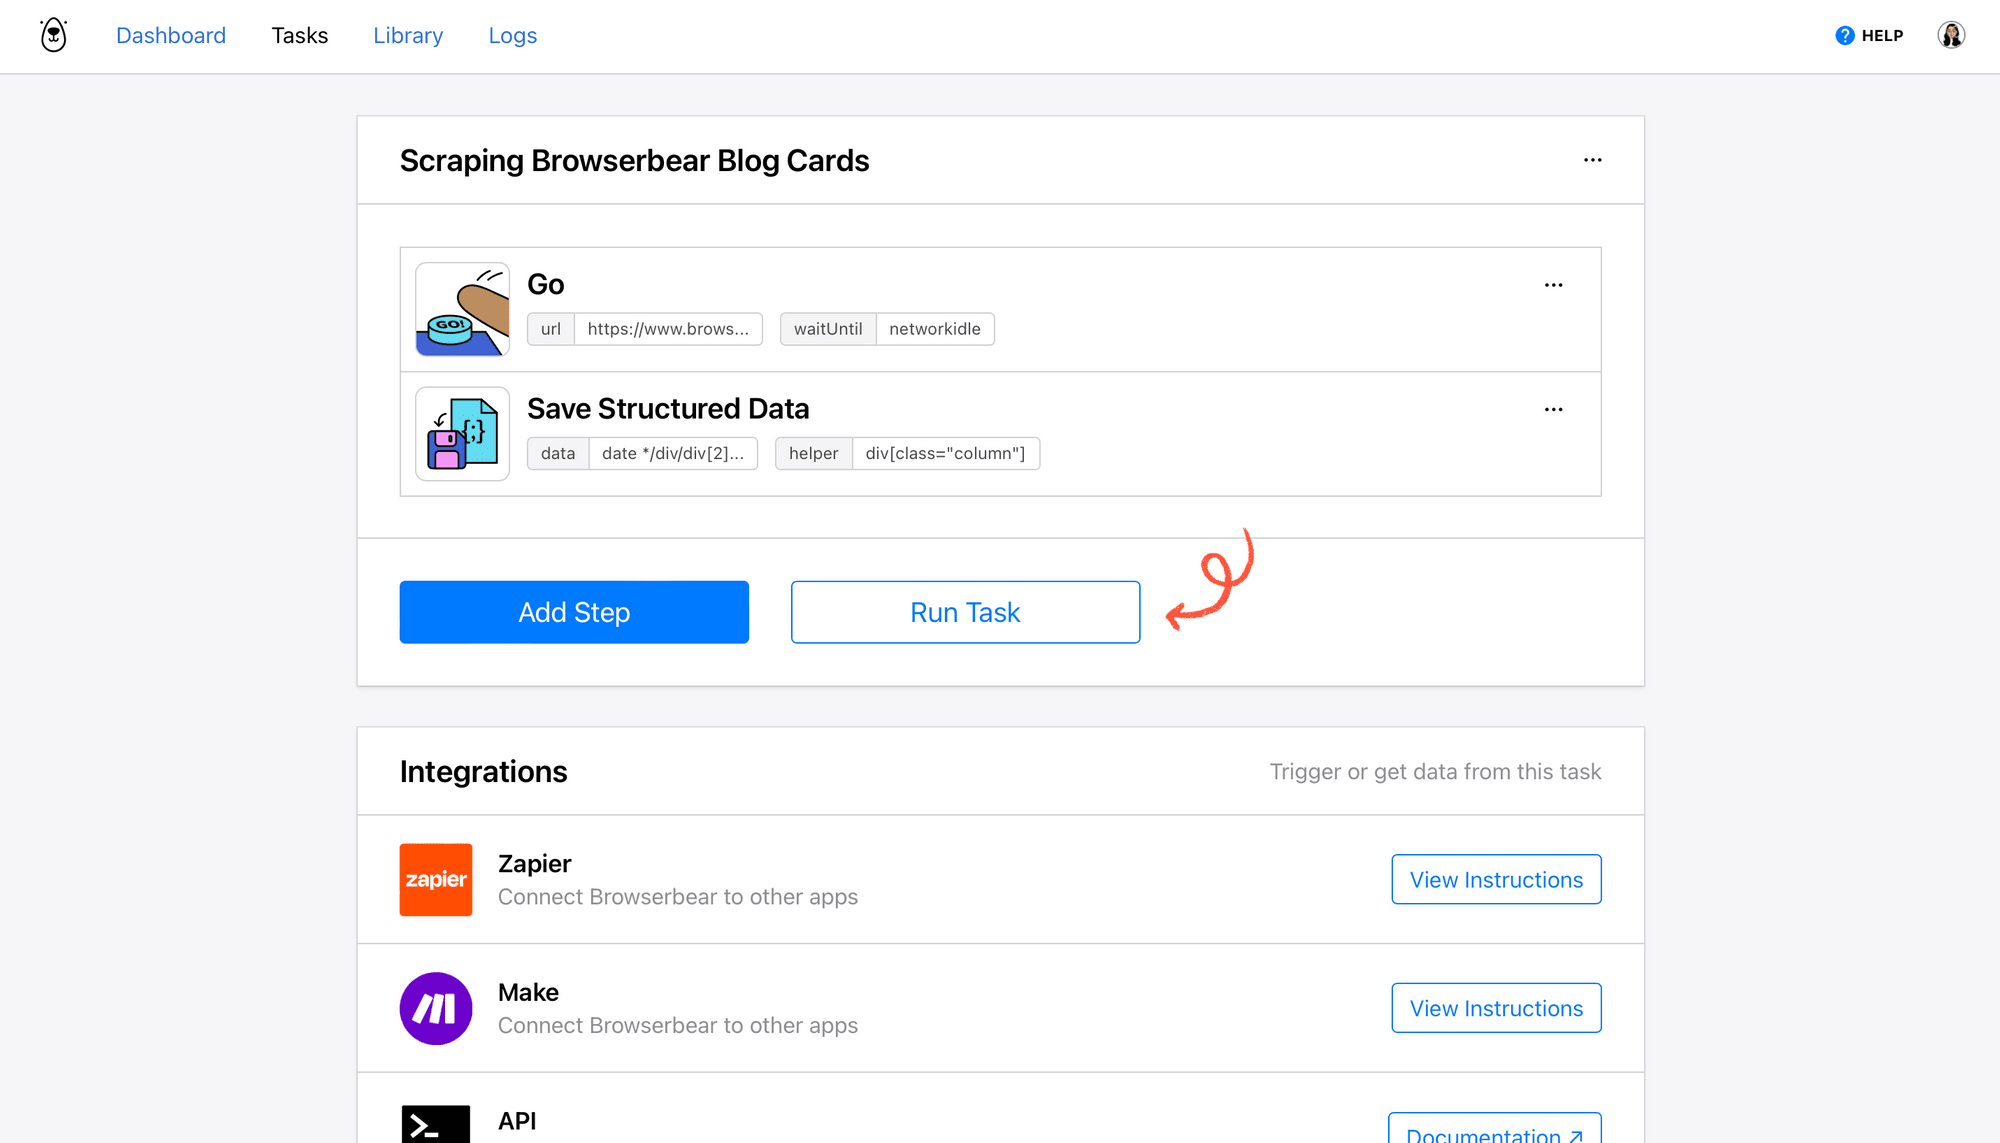
Now, test your automation by clicking Run Task from the task page.
You should see a result appear in the Runs section indicating when the latest tasks were triggered and whether they were successful.
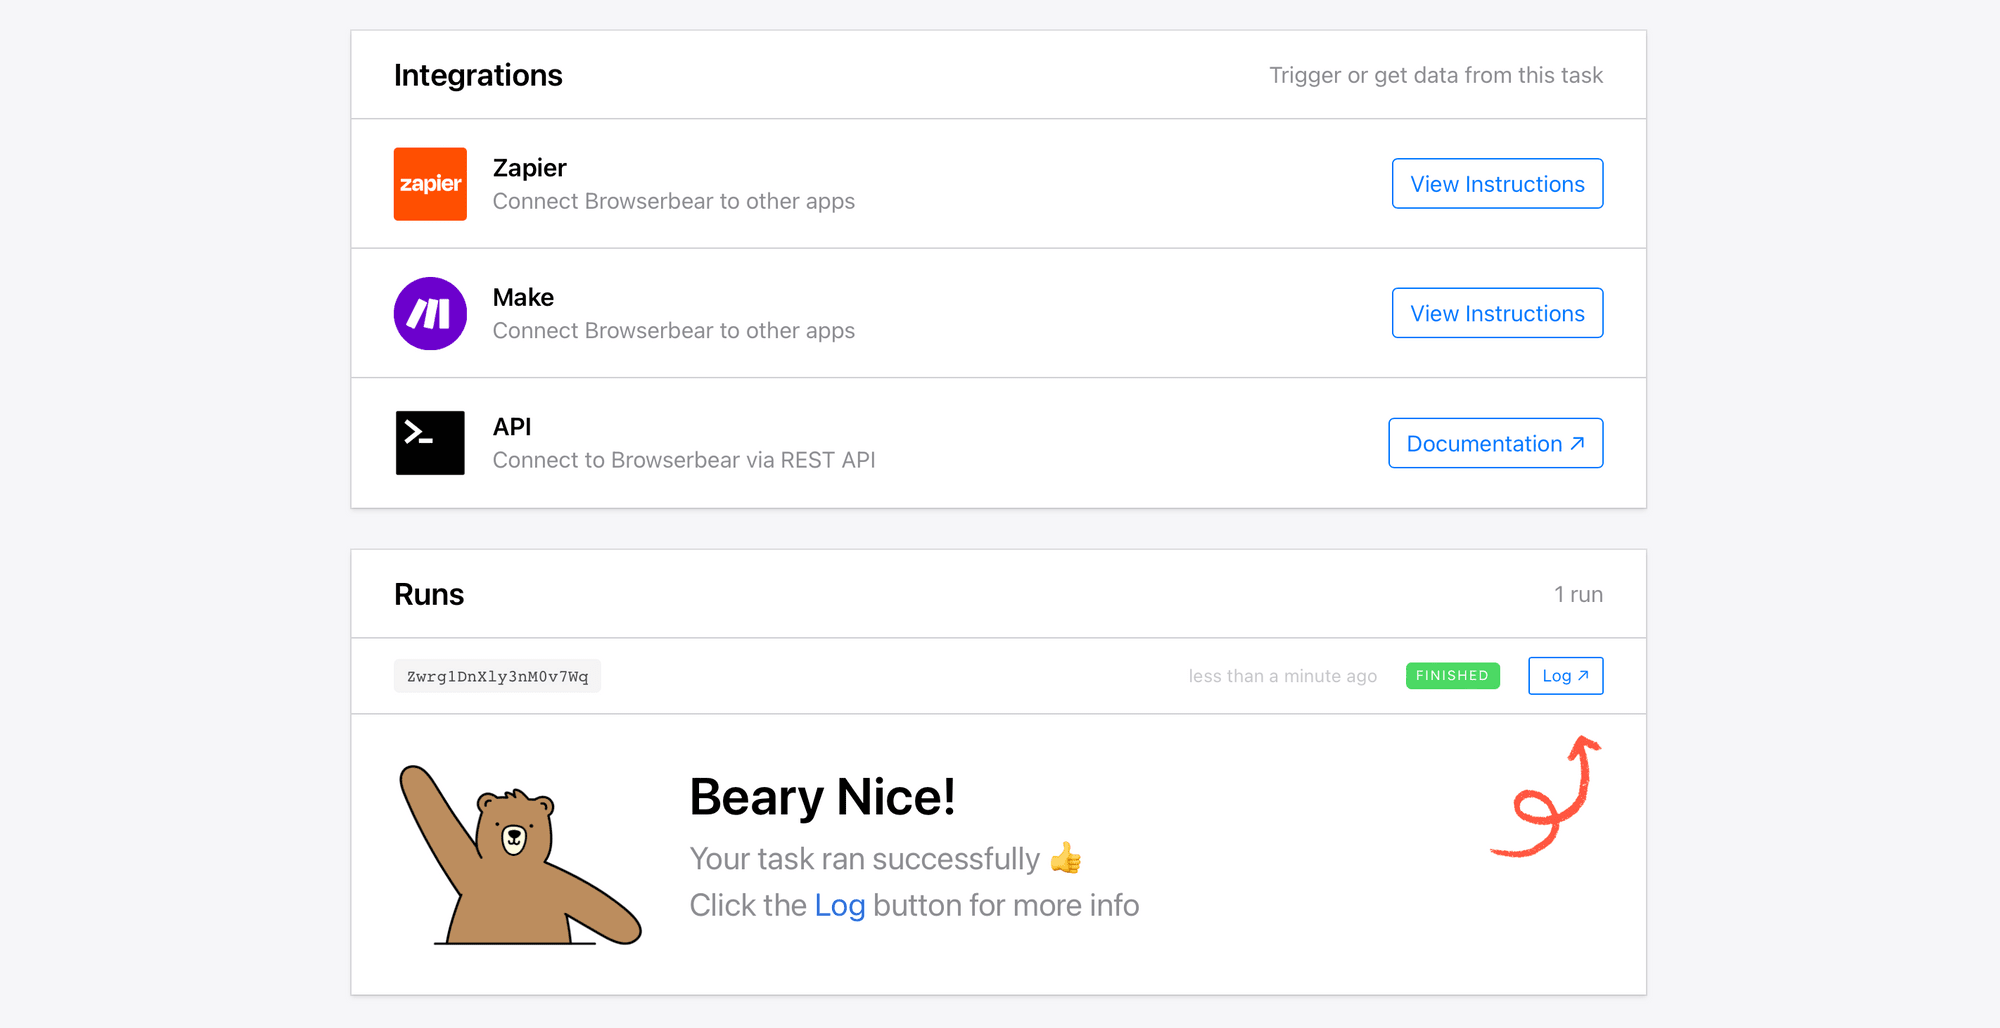
Click Log to see the output.
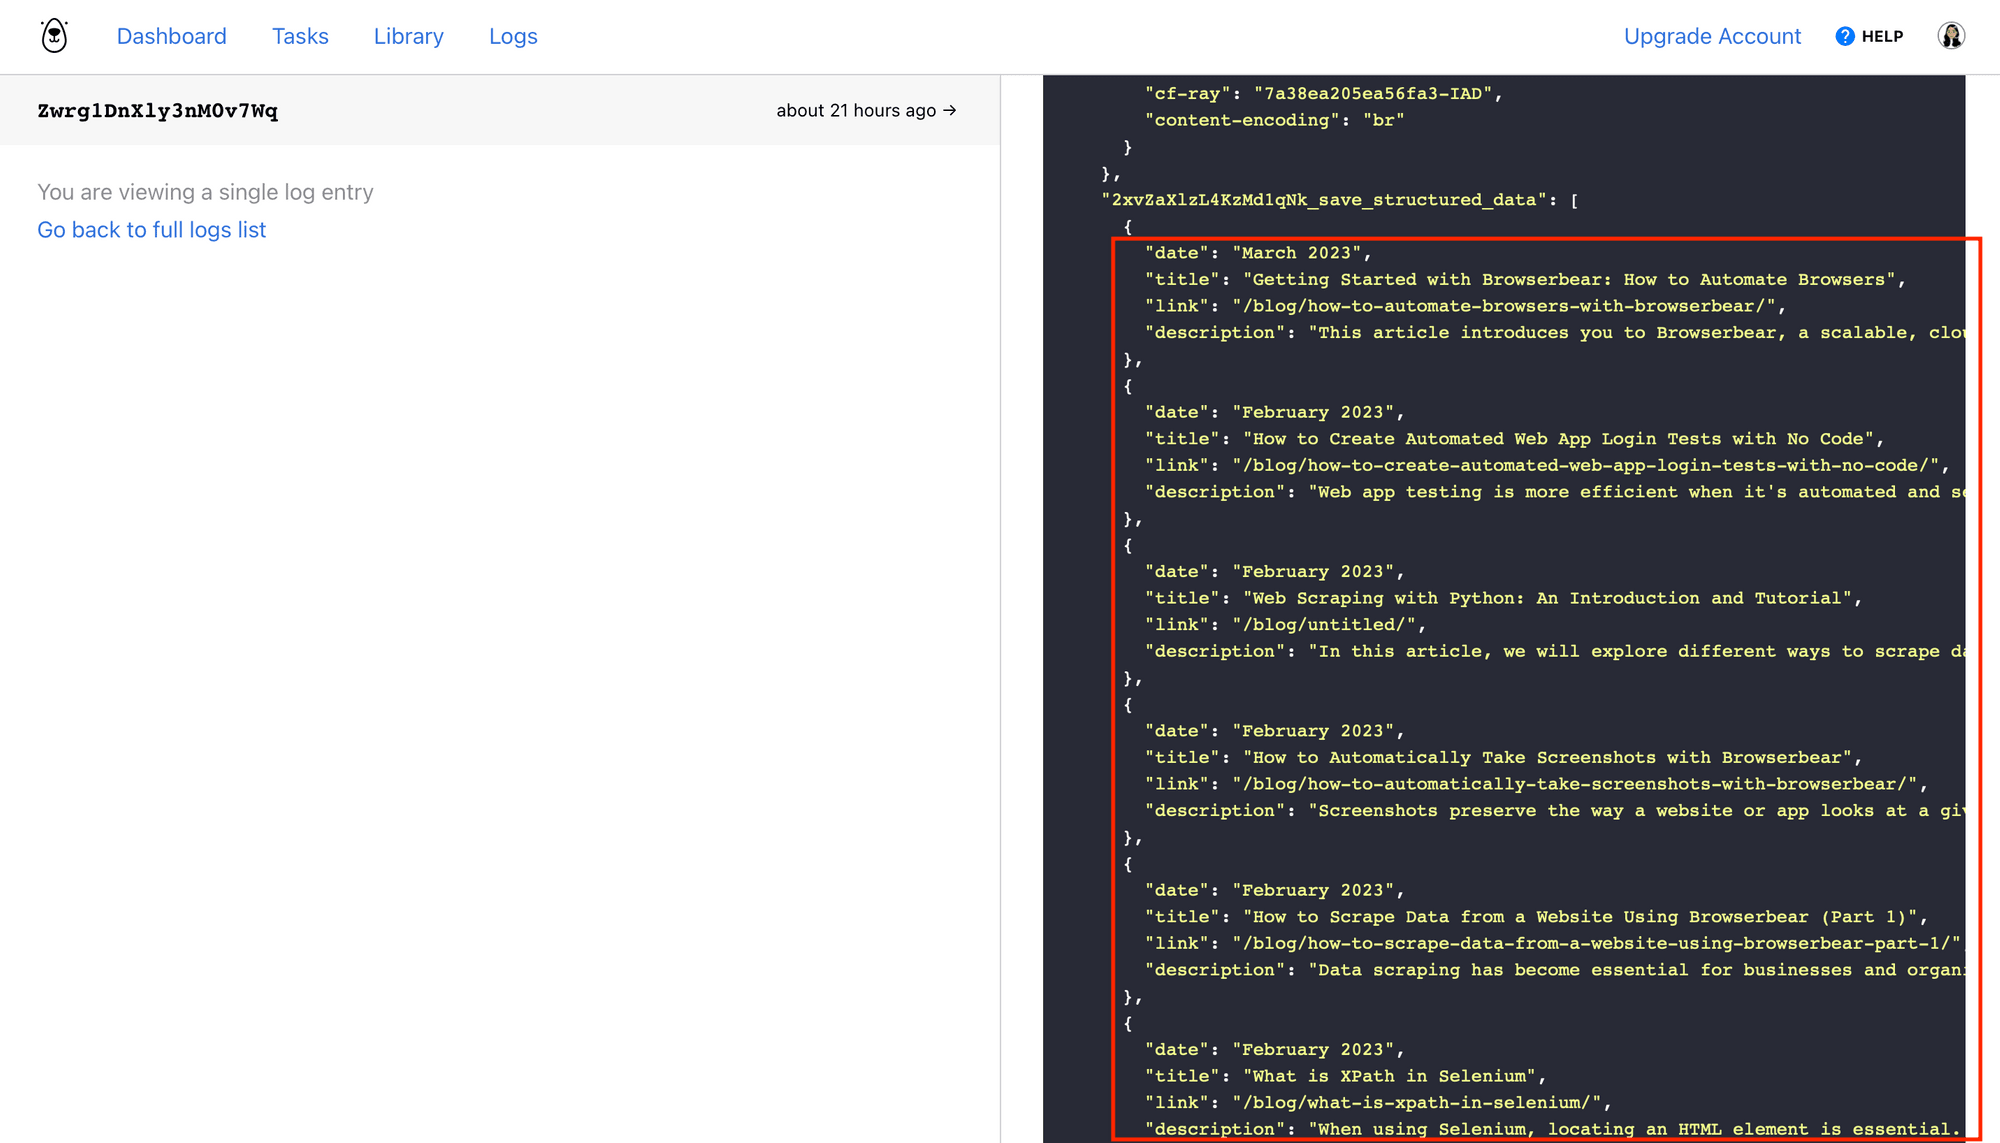
Your task is now ready to use!
Build a Notion Database to Store Scraped Data
A Notion database will store your scraped data and make it easy for you to access across devices whenever necessary.
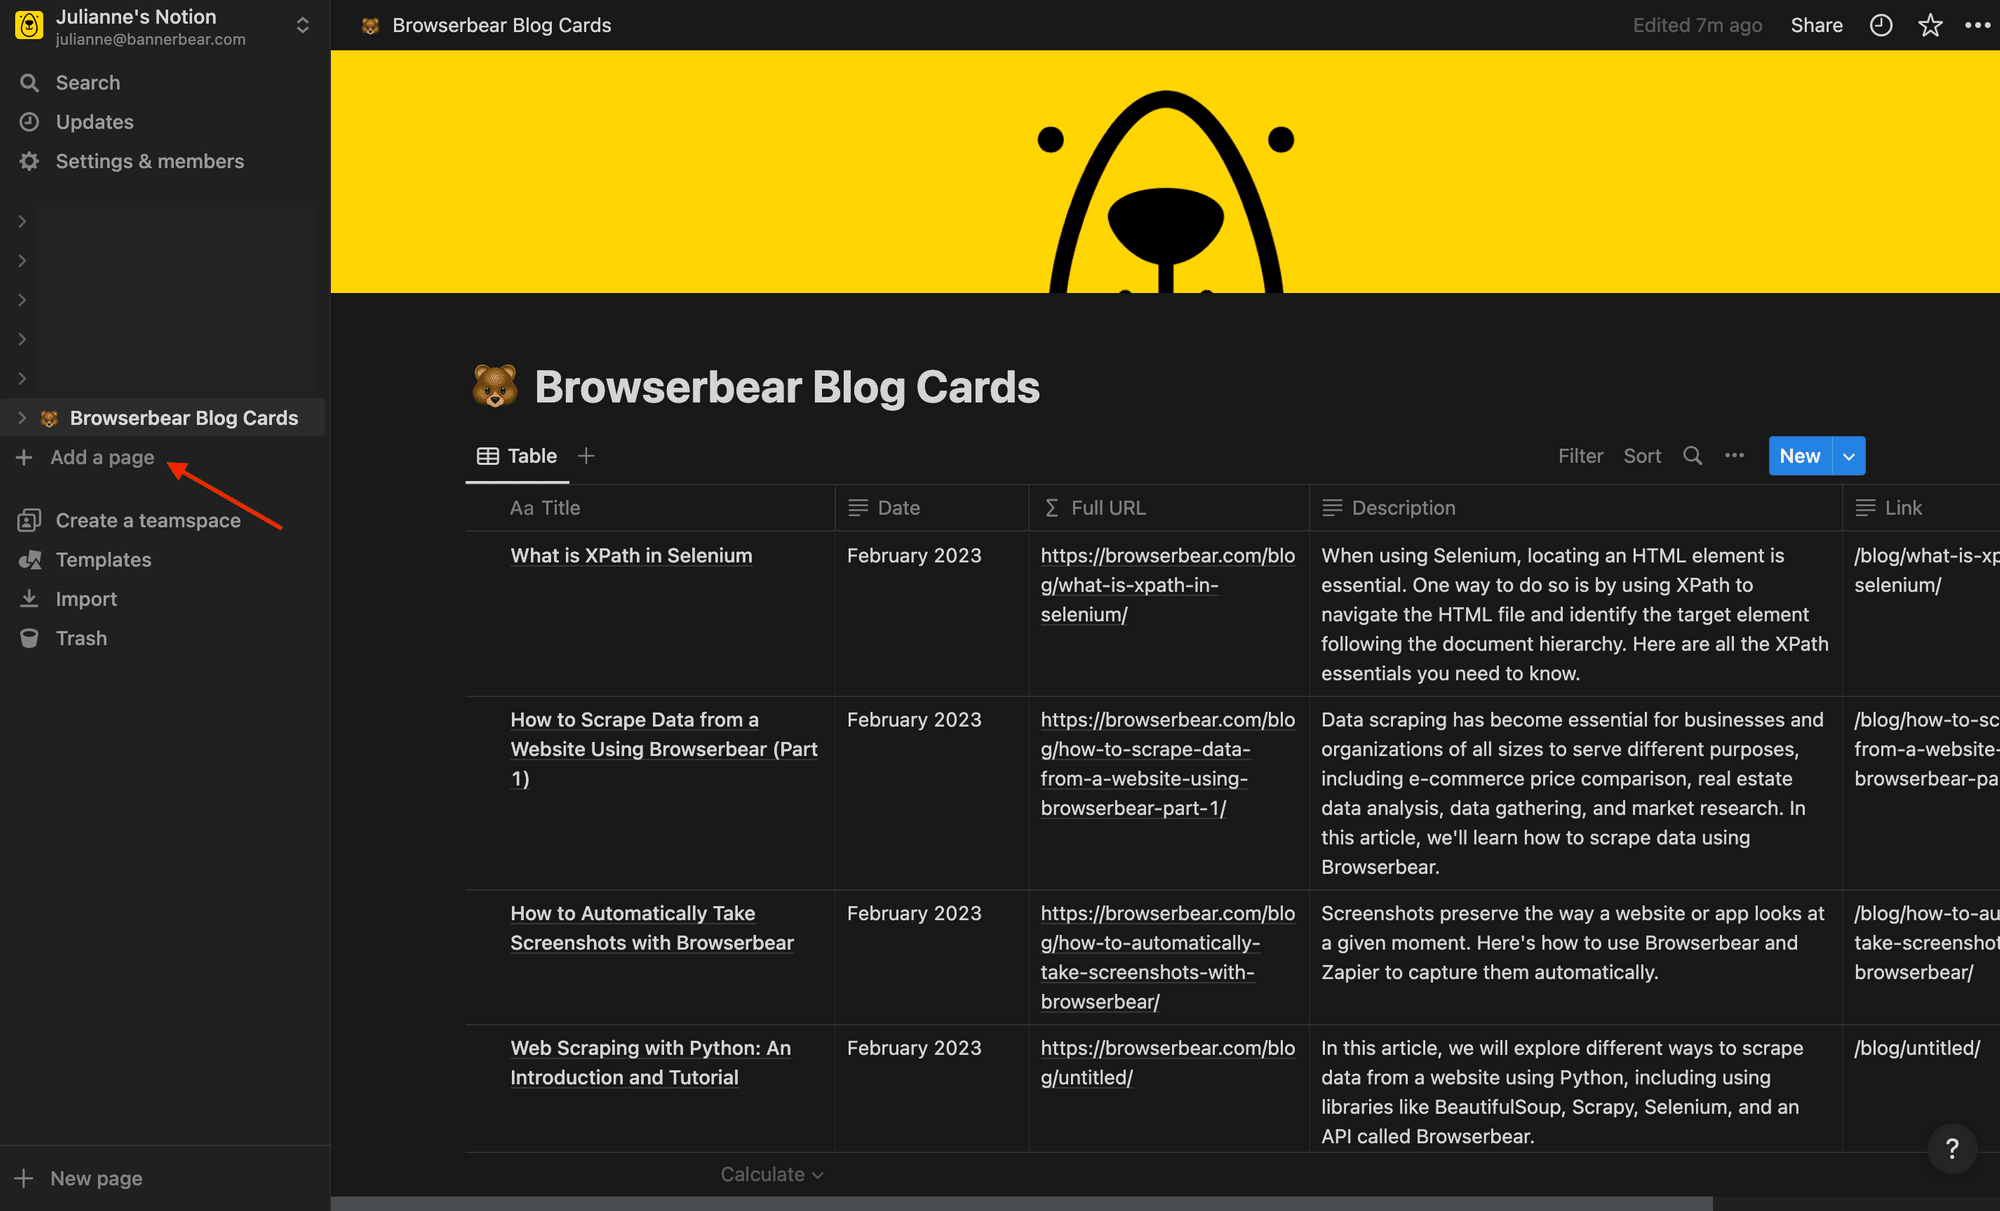
Log into Notion and click + Add a page on the left sidebar.
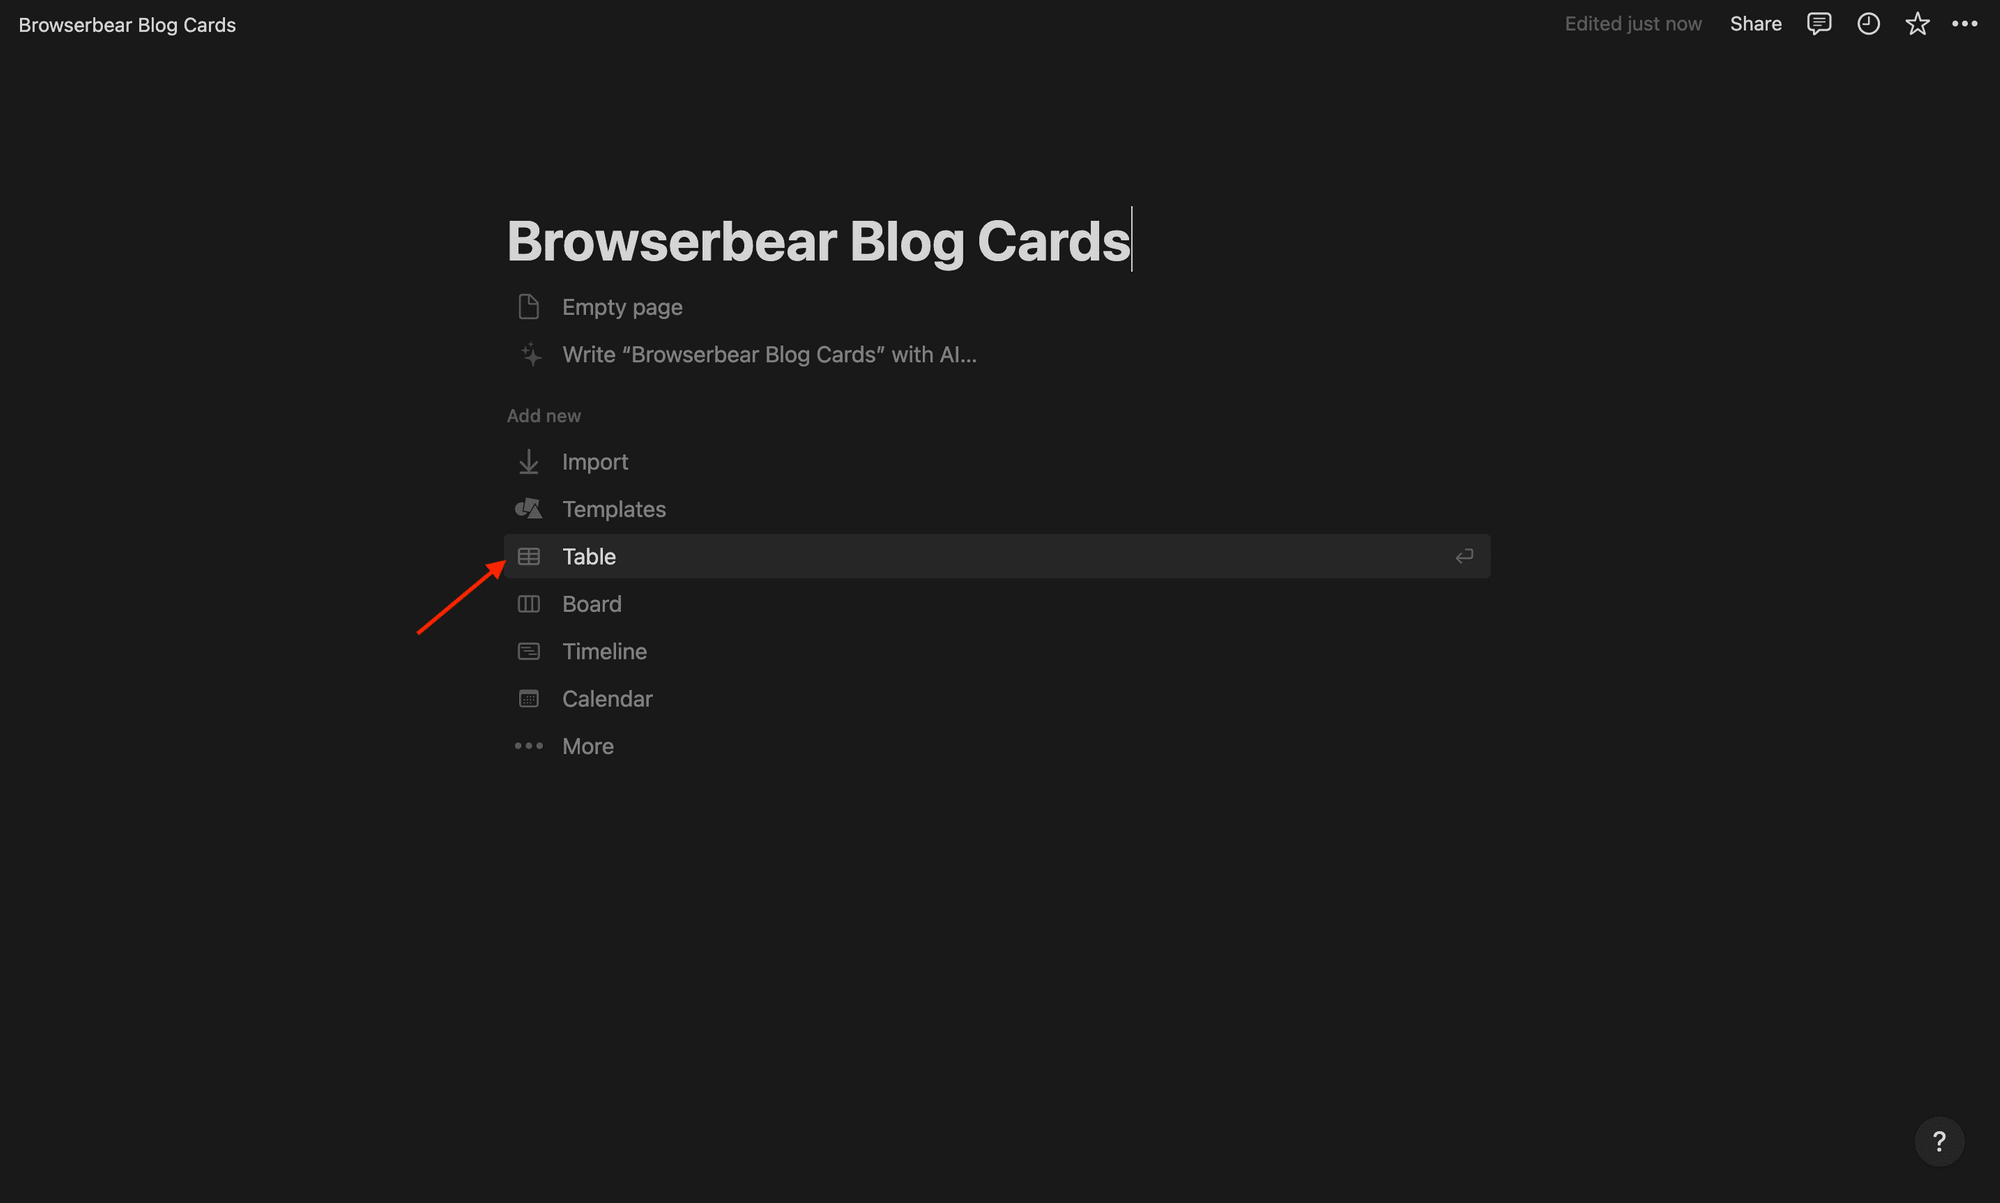
Name your page, then click Table.
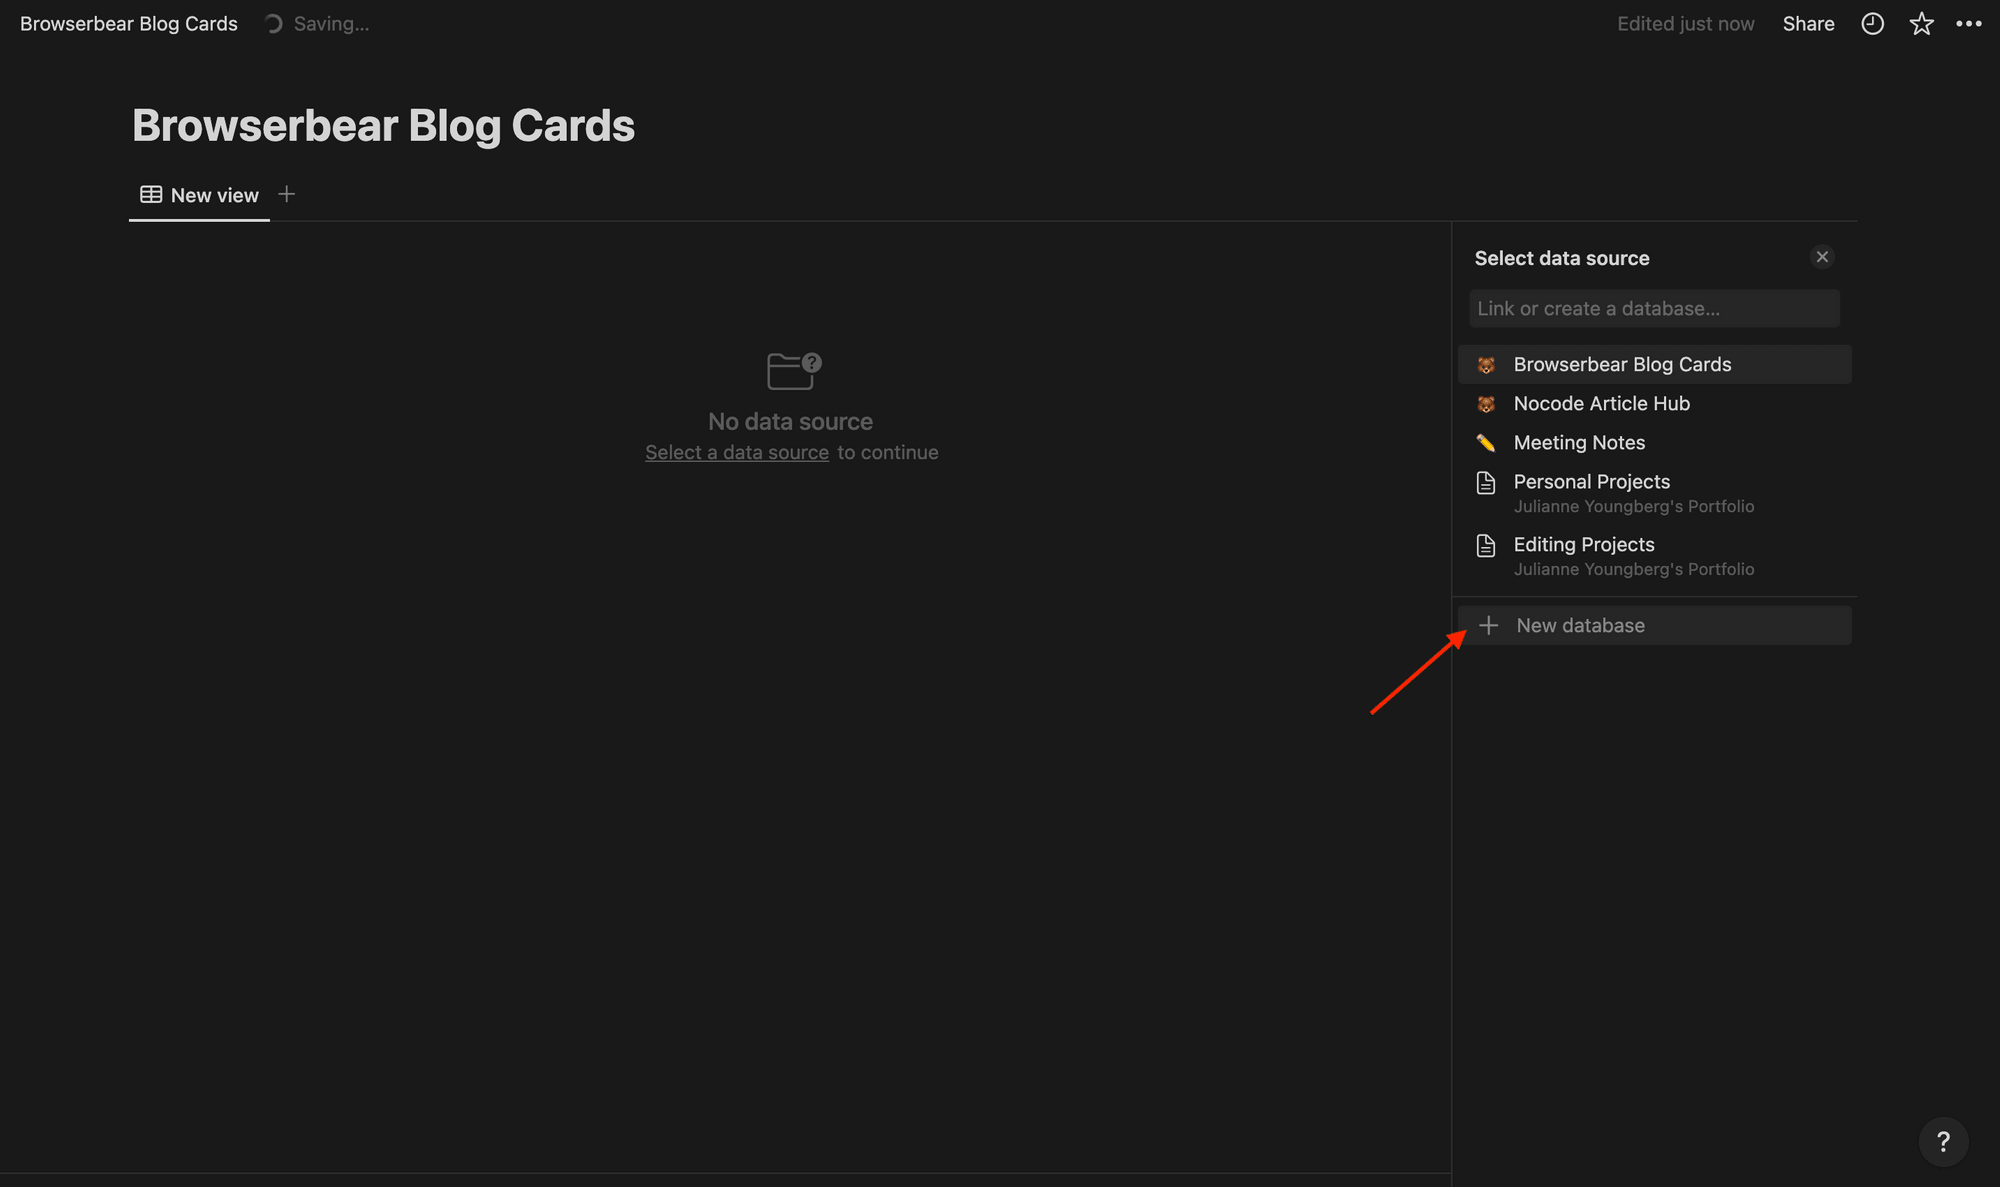
You’ll now have a blank table to connect to a data source. Click + New Database on the right sidebar.
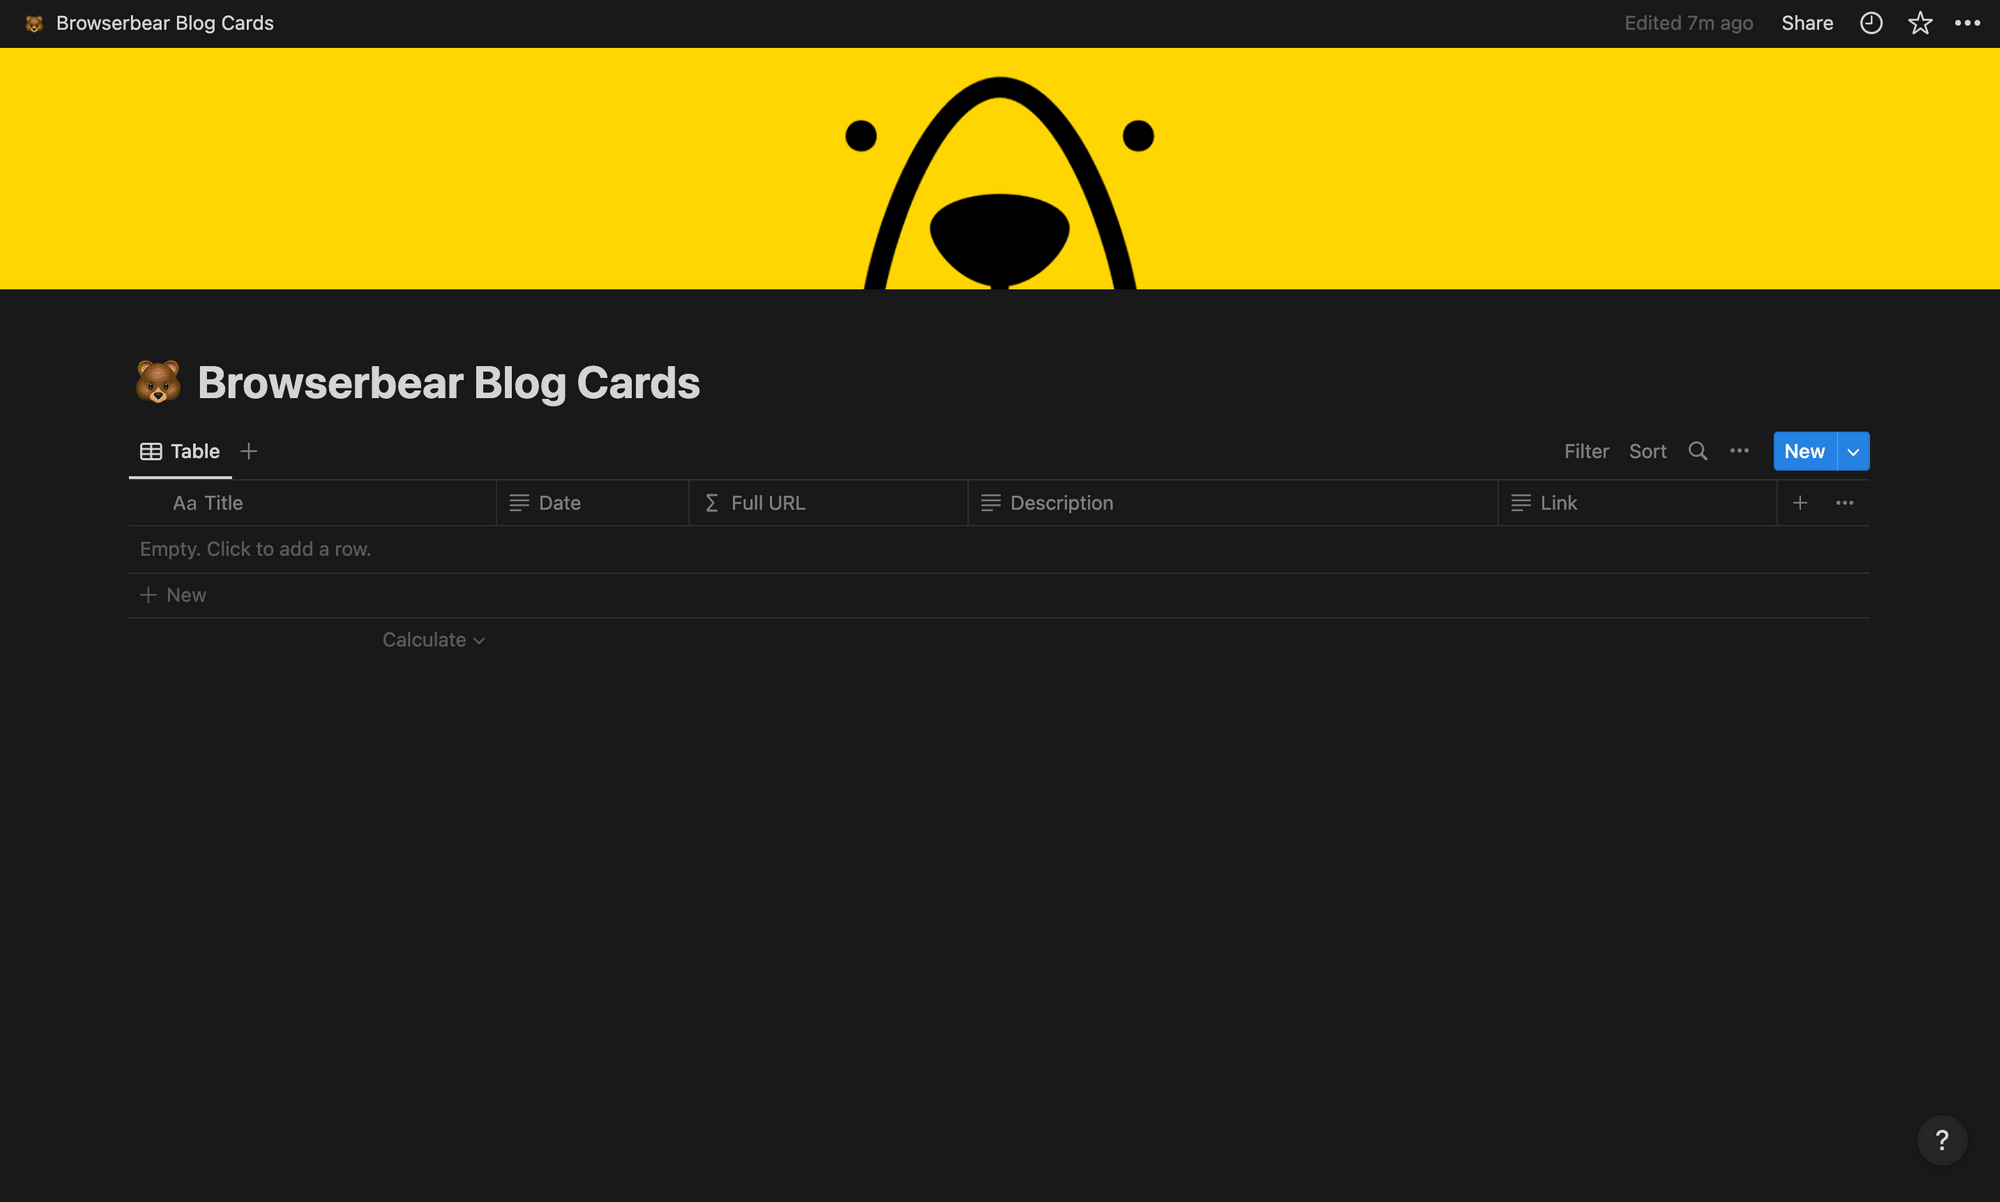
Set up your table by adding fields for the elements you’re scraping. We’ll use the following:
- Title
- Date
- Full URL (as formula,
concat("https://browserbear.com", prop("Link"))) - Description
- Link
You should now have a table that looks something like this:
Make any customization changes to the page, such as adding a title, description, or cover image.
❗ Note : The full URL field is included simply because the link scraped from Bannerbear is only the file path and does not include the domain. The concatenate formula combines the two.
Set up a Zap to Save Scraped Data
A single zap will trigger when a run is completed in Browserbear, sending the output to your Notion database to be used for other processes.
Log into your Zapier account, click + Create Zap , and set up the following events:
Trigger: Run Finished in Browserbear
Choose Browserbear as the app and Run Finished as the event. You’ll need to connect your Browserbear account using your API key.
Set up the action by selecting the corresponding task.
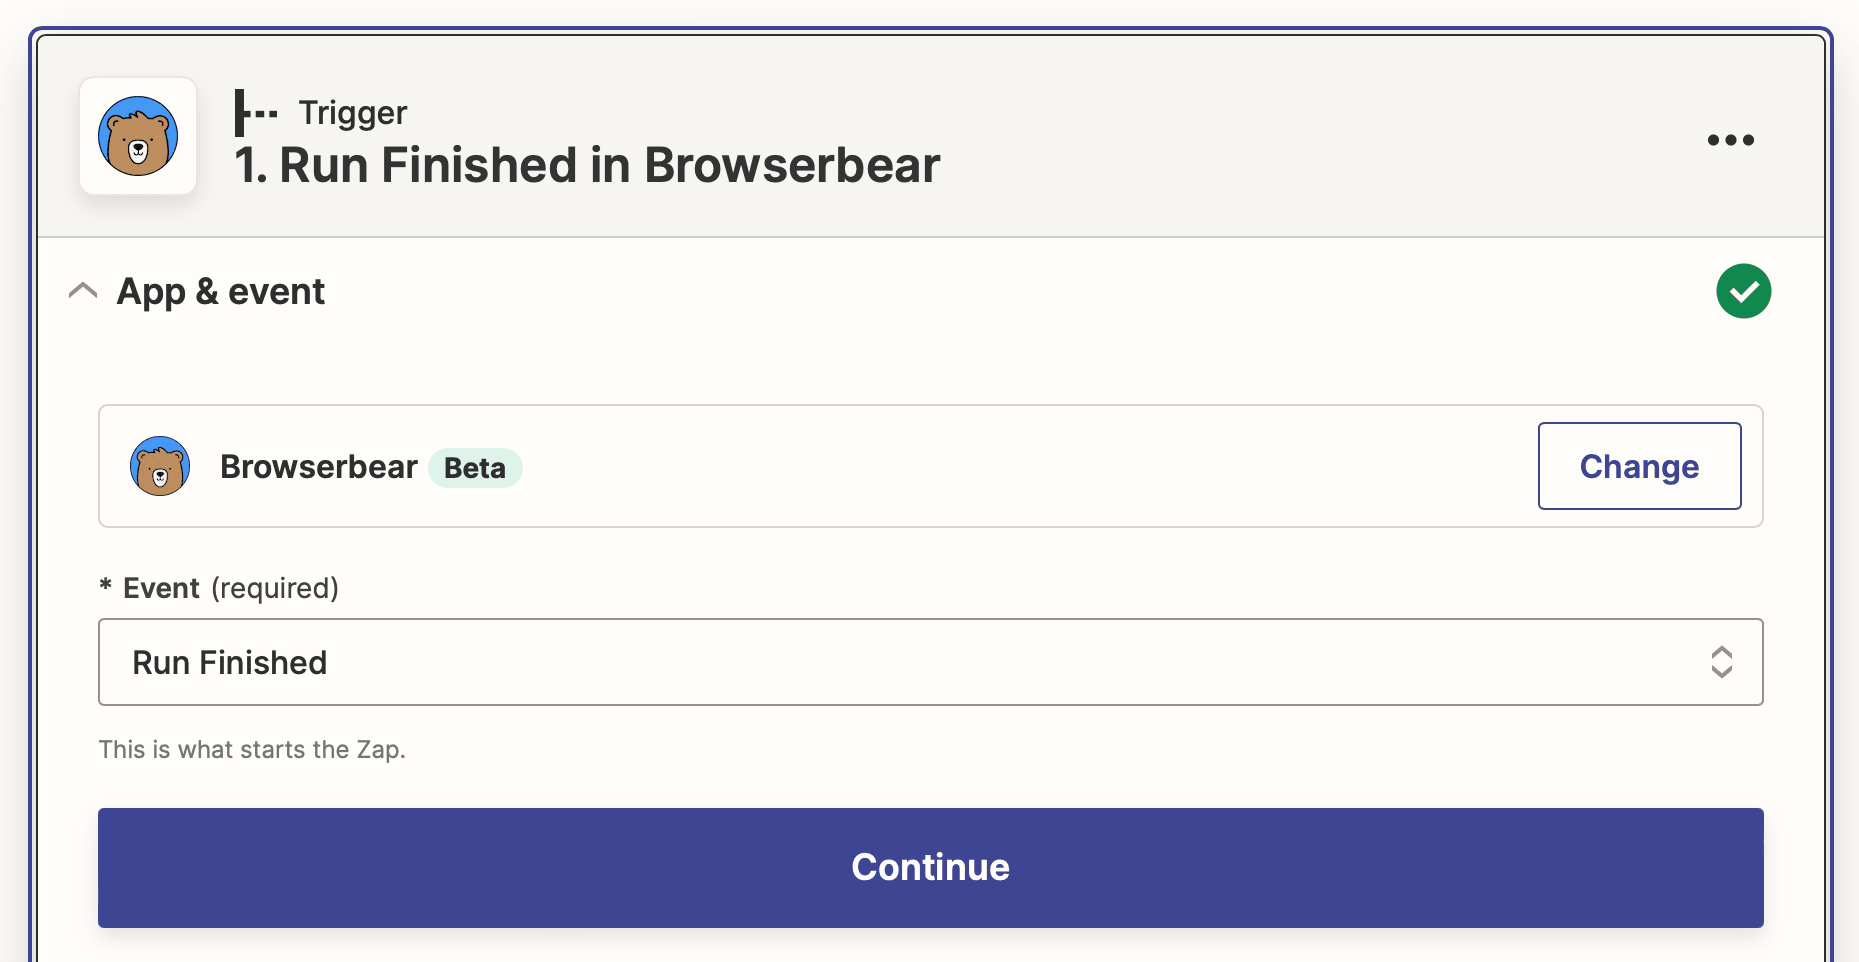
Test the trigger to make sure Zapier is able to find a completed run.
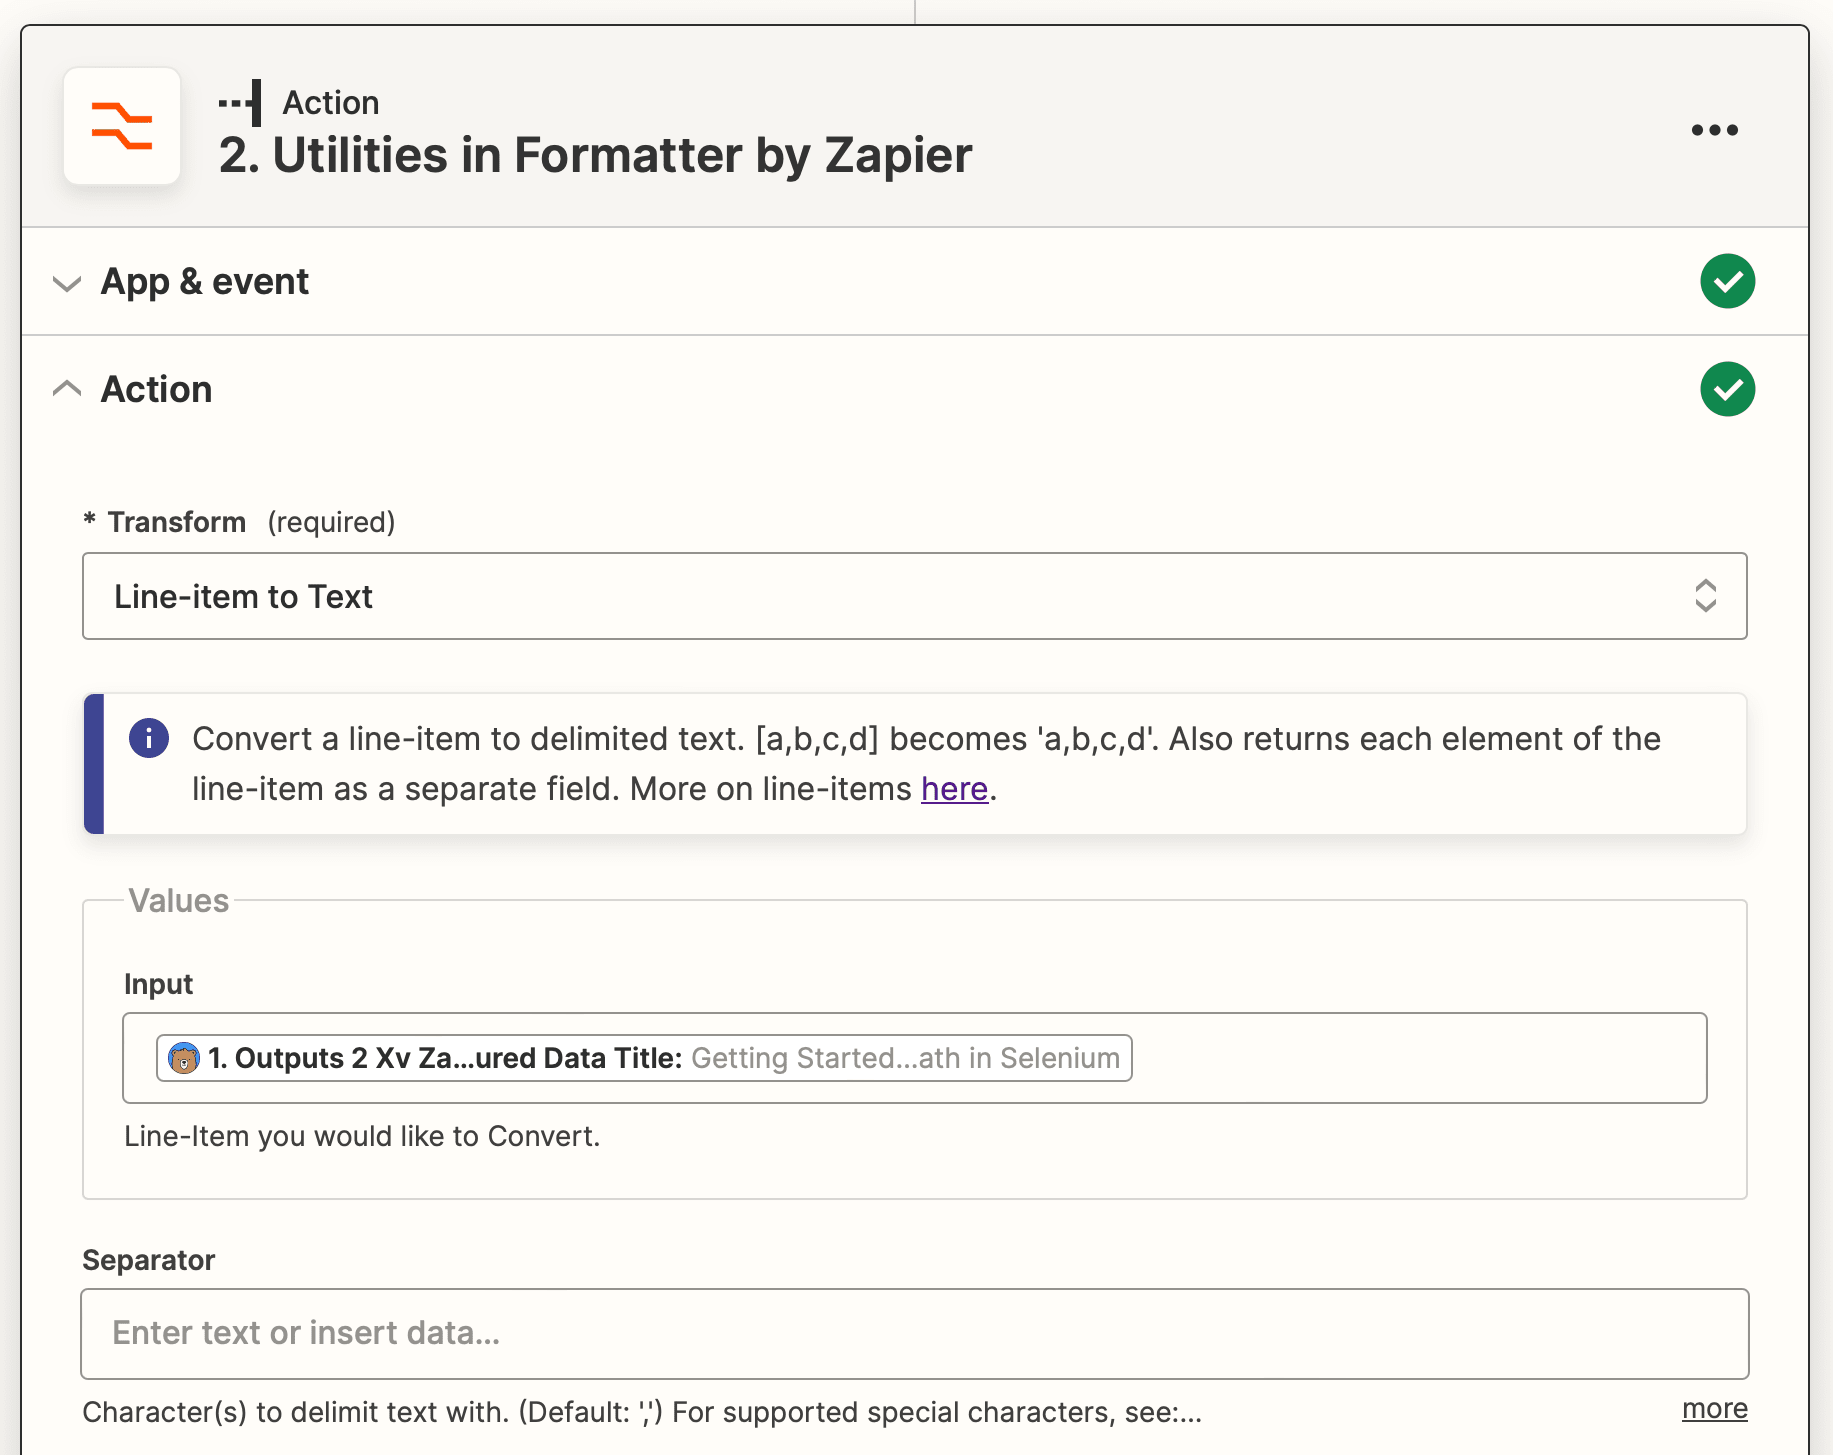
Action: Utilities in Formatter by Zapier
The structured data from Browserbear is in line-item format, but Notion needs them to be split into separate strings to successfully be deposited into different cells. We’ll use Formatter to convert them.
Choose Formatter by Zapier as the app and Utilities as the event.
Select the Line-item to Text transform type and insert the first type of scraped data into the Input field. Use a comma (,) as the separator.
Test the action, then repeat the step for as many data types as you have.
Bear Tip 🐻: You might need to use a different type of separator depending on the scraped data you’re working with. For example, a period and comma (.,) is more appropriate for blog descriptions because a comma alone would yield many partial sentences.
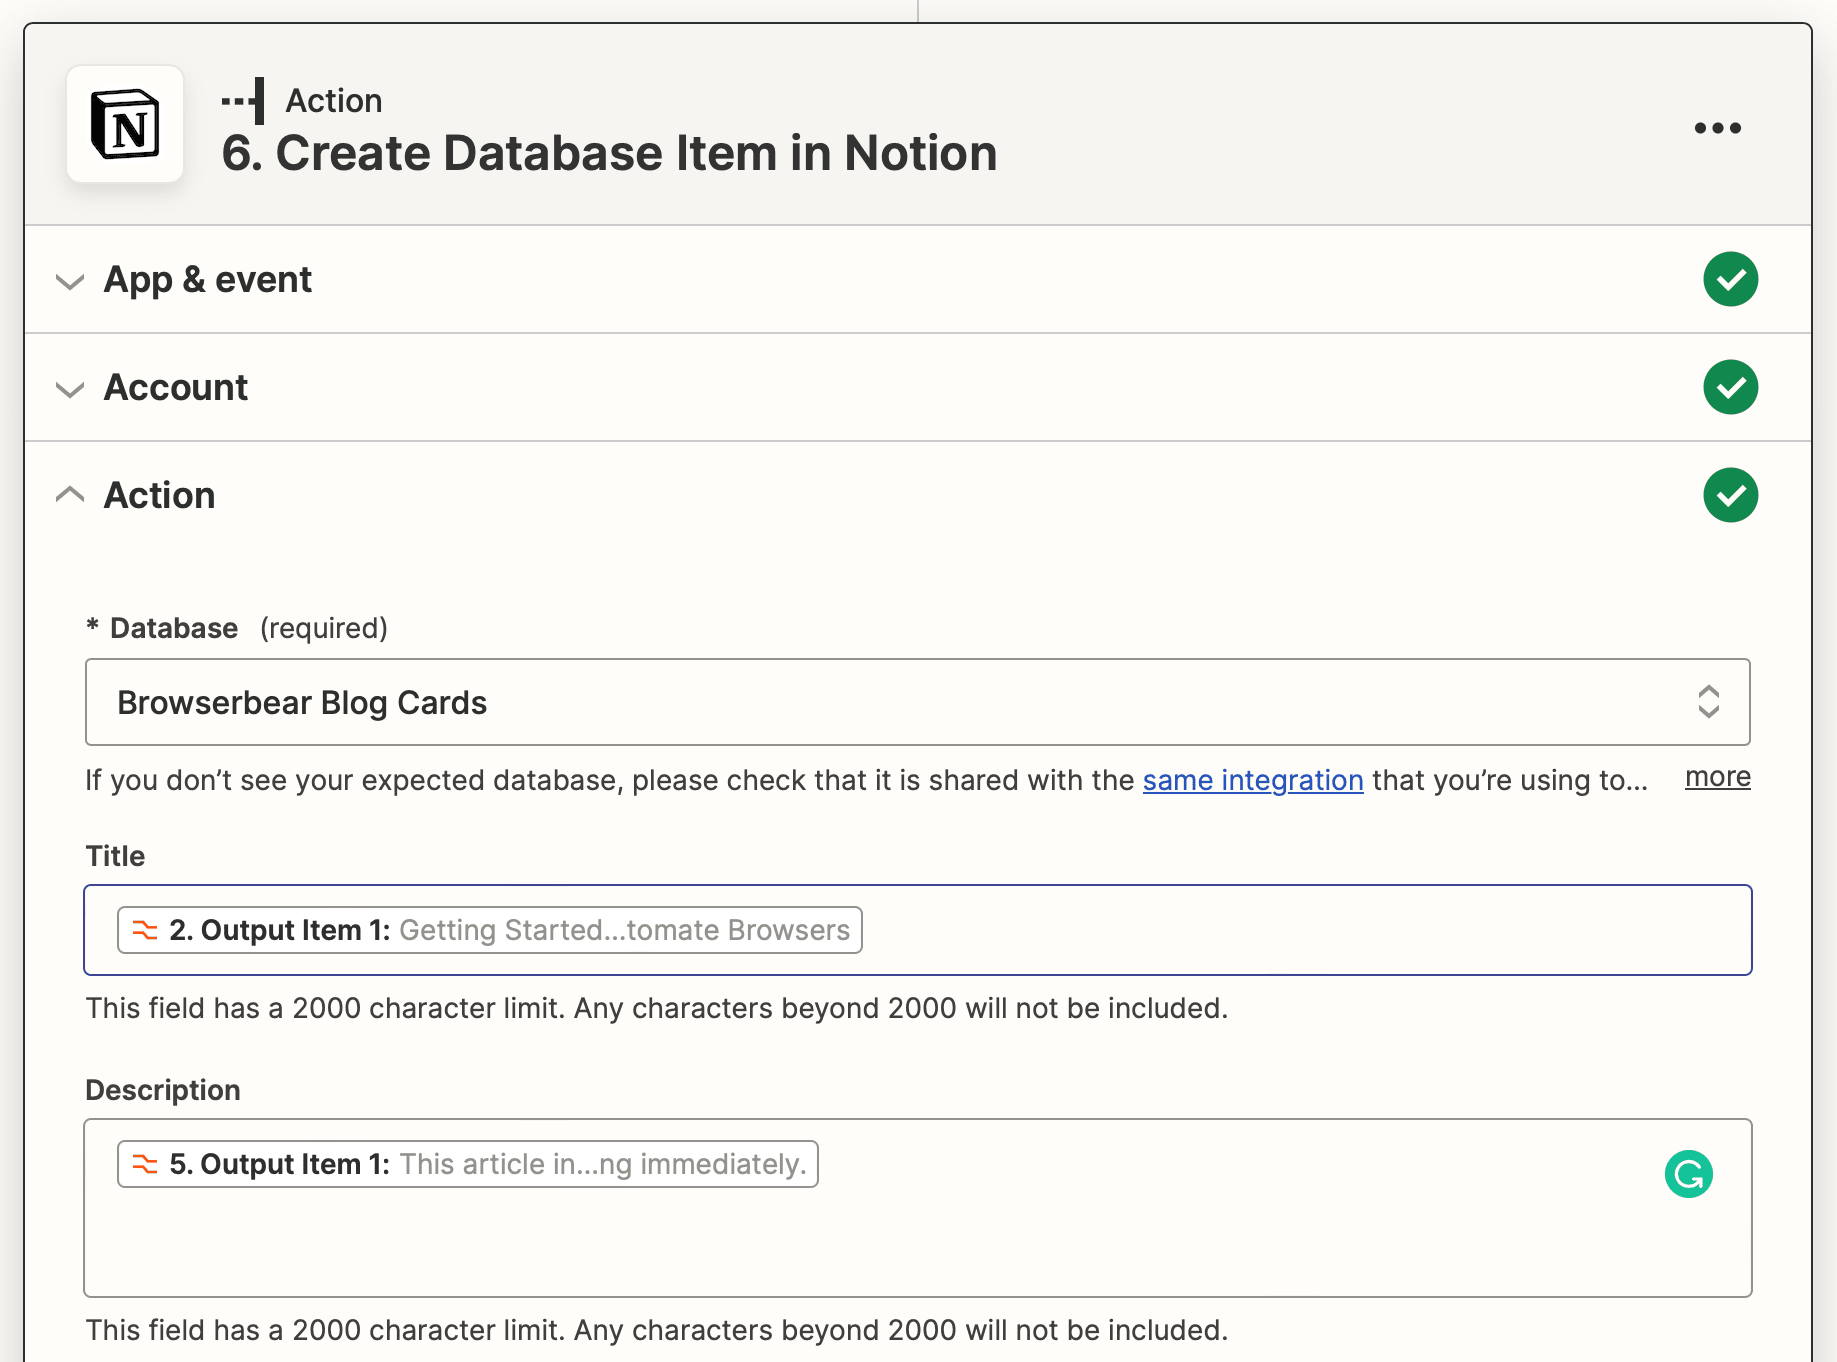
Action: Create Database Item in Notion
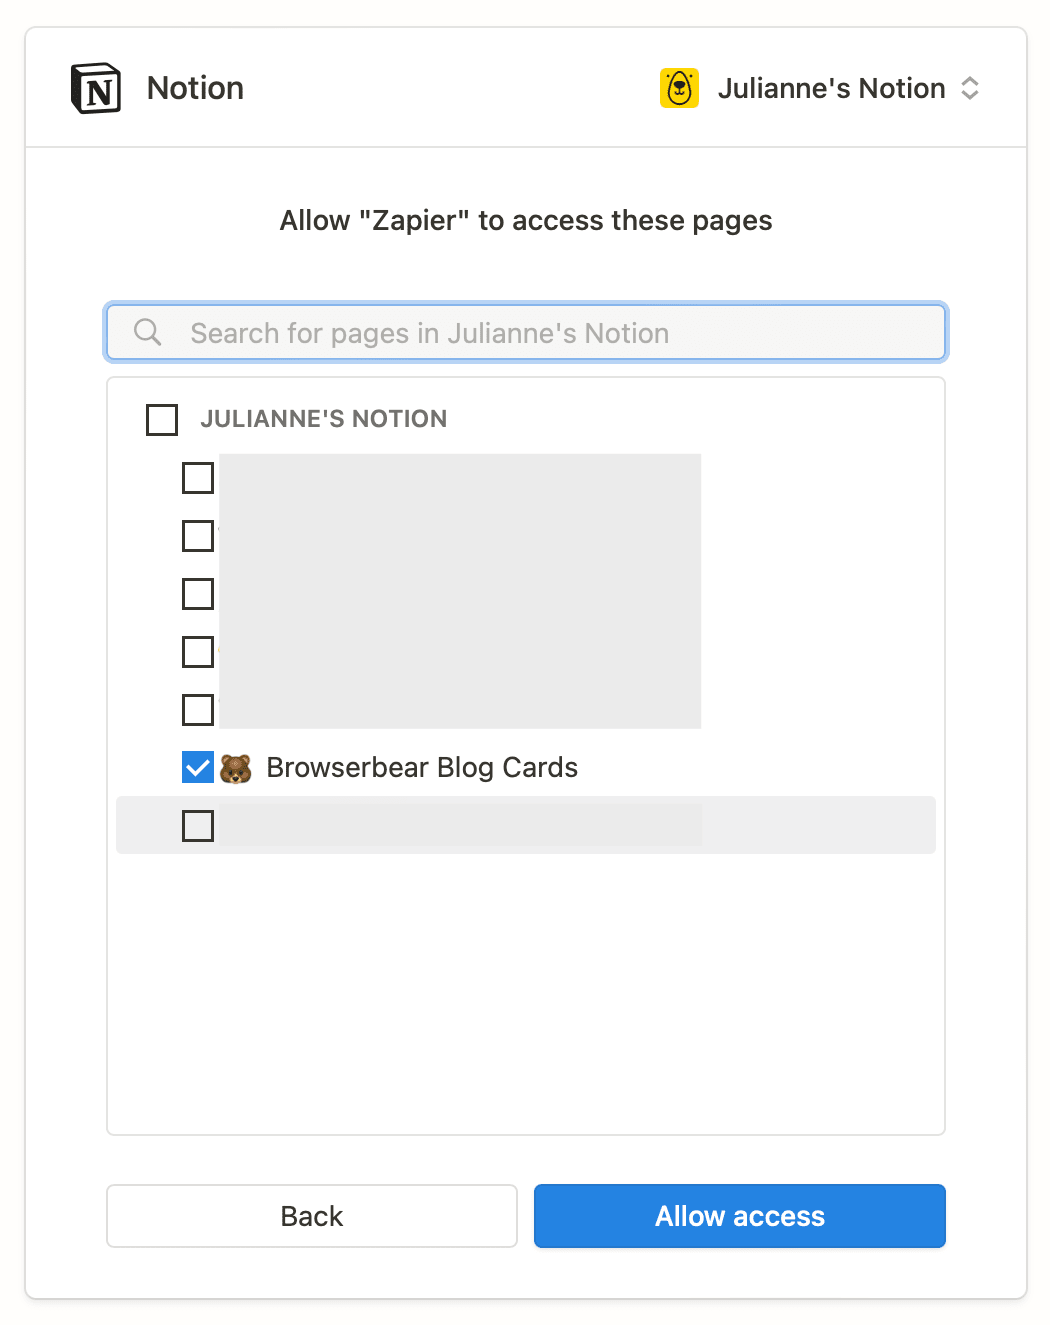
Choose Notion as the app and Create Database Item as the event. You will have to connect your new database by selecting the specific page you created.
Set up the action by choosing the database, then mapping the first batch of scraped elements to their corresponding fields.
Test the action, then repeat the step for as many data items as you have.
You should ultimately have a Notion table filled with a batch of scraped data, like this:

Make any final adjustments, then hit Publish to take your zap live!
Bear Tip 🐻: You will need a separate automation that triggers the task run as frequently as needed. Consider setting up a different zap to schedule it on a recurring basis or in response to a certain event.
Automate Your Data Scraping Processes
The best automations are those that don’t require much manual effort (if any). You’ll get the best results when you build workflows that consistently send properly formatted data across programs.
As one of the leading cloud-based knowledge base apps on the market today, Notion is the program of choice for many brands and individuals. But if you’re looking for other ways to store scraped data, consider the following:
👉🏽 How to Automatically Send Structured Data to Airtable
👉🏽 How to Automatically Scrape Structured Data and Save to Google Sheets
And learn more about scraping with Browserbear here:
👉🏽 How to Scrape Data from a Website Using Browserbear (Part 1)
👉🏽 How to Scrape Data from a Website Using Browserbear (Part 2)
